Setting up VPN with Windows
This article explains how to set up VPN access for connecting to the university network with Windows.
1. Download the OpenVPN client
The first thing you need to do is install the OpenVPN client. Visit the project website to download the corresponding installation file for your version of windows.
Hint for old profile file
If you have stored your current profile file in the folder C:\Programme\OpenVPN\config\, please delete it.
3. Connect the OpenVPN Client
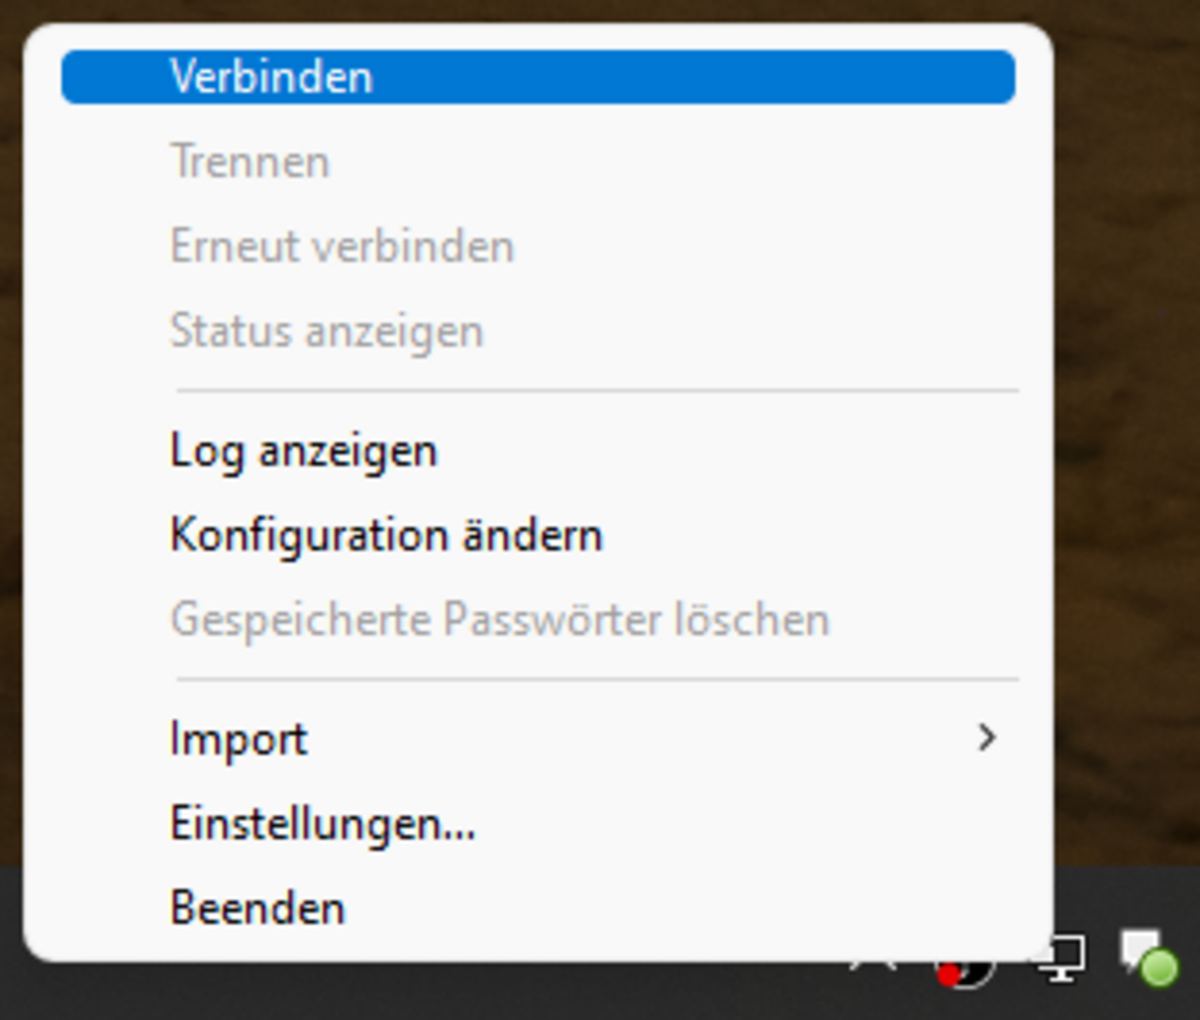
If you now start the OpenVPN client, the icon will appear in your system tray at the bottom right of your screen (image 1). Right click on the icon and select Connect (image 2).
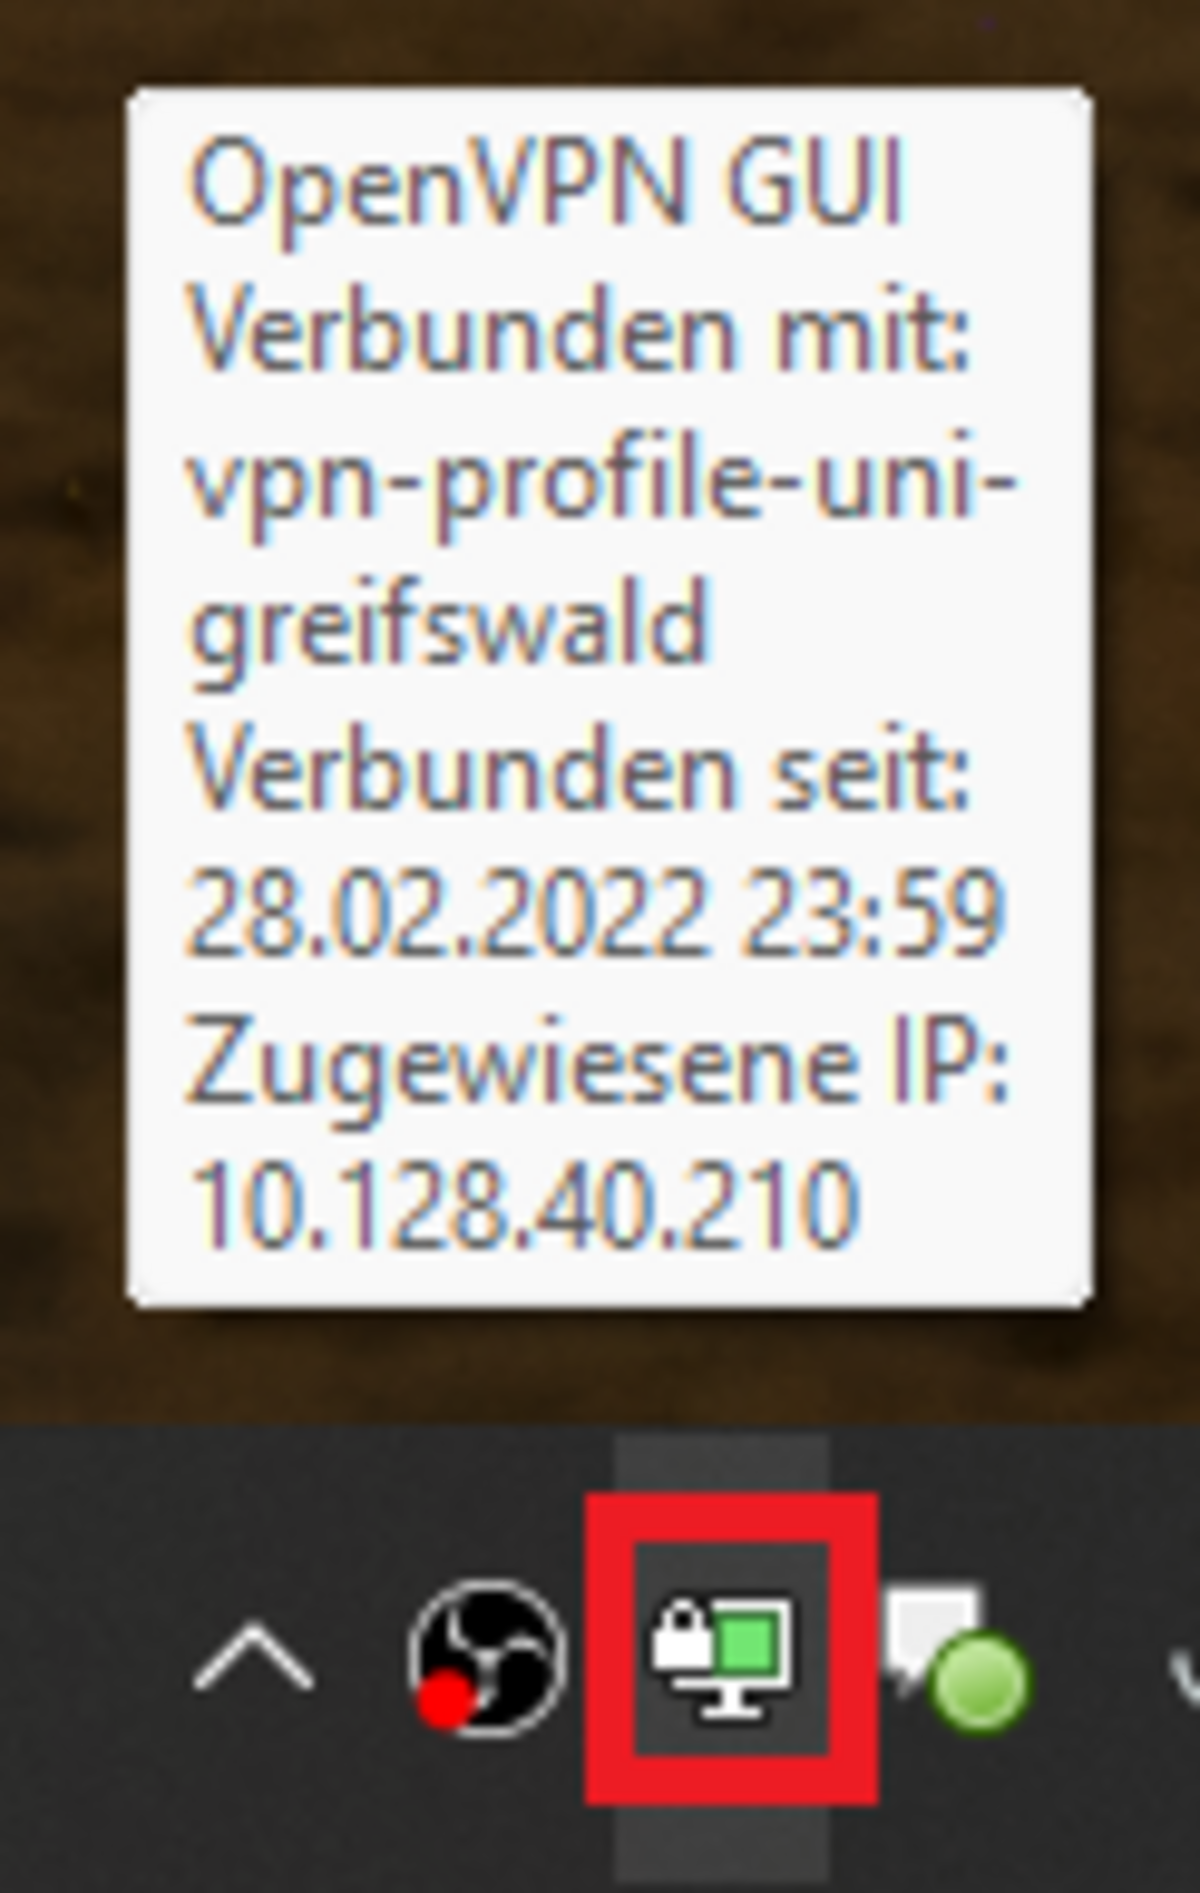
A dialogue window will open and ask you for your username and password. If your connection is successful, the colour of the OpenVPN icon will change to green (image 3).