PaperCut client setup
The PaperCut client requires a 64bit Linux (tested with Ubuntu 16.04 und 18.04) and a Java runtime version 11. There are two archives you can chose from. Inside the bigger one a compatible Java runtime is included. When you already have a Java runtime installed on your system (e.g. via the package openjdk-11-jre) you can use the small file.
The archive has to be extracted e.g. inside the home directory. Afterwards the PaperCut client can be started via the terminal.
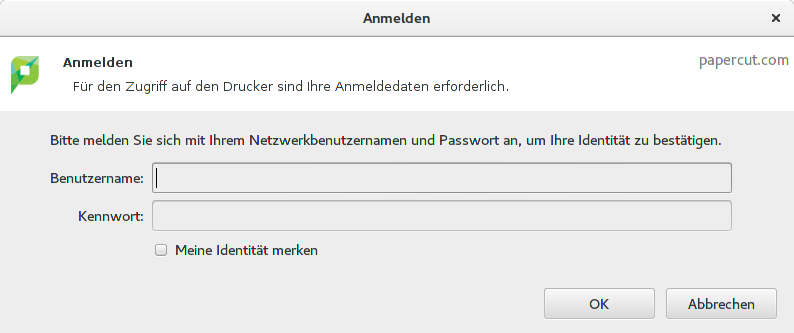
When starting the client you will be asked for your credentials of your central user account.
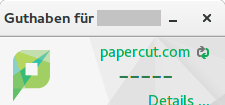
After a successful authentication the client is active. This can be seen via the status window. Since the PaperCut client needs to be active when printing it is recommended that the client starts automatically when booting the system or when entering the desktop environment. More information can be found here.
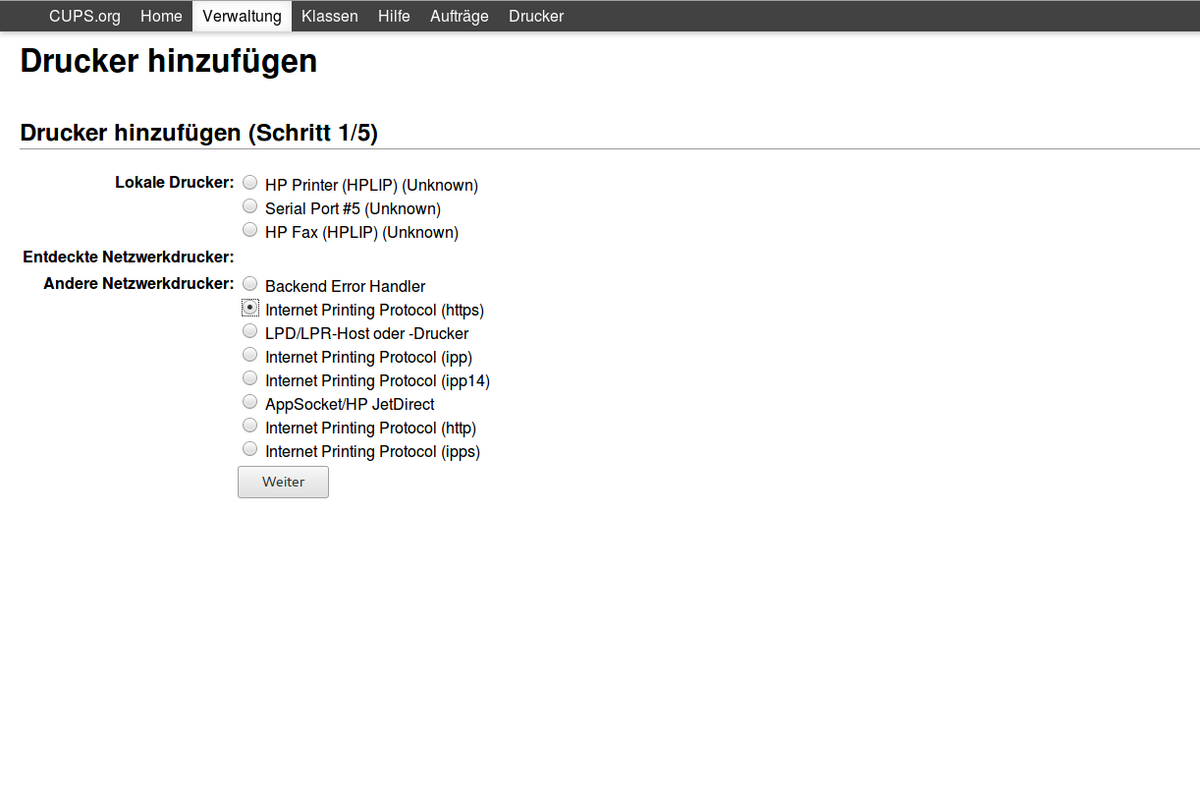
To install and run the virtual network printer the packages cups and ghostscript need to be installed. In most distributions these packages are installed by default.
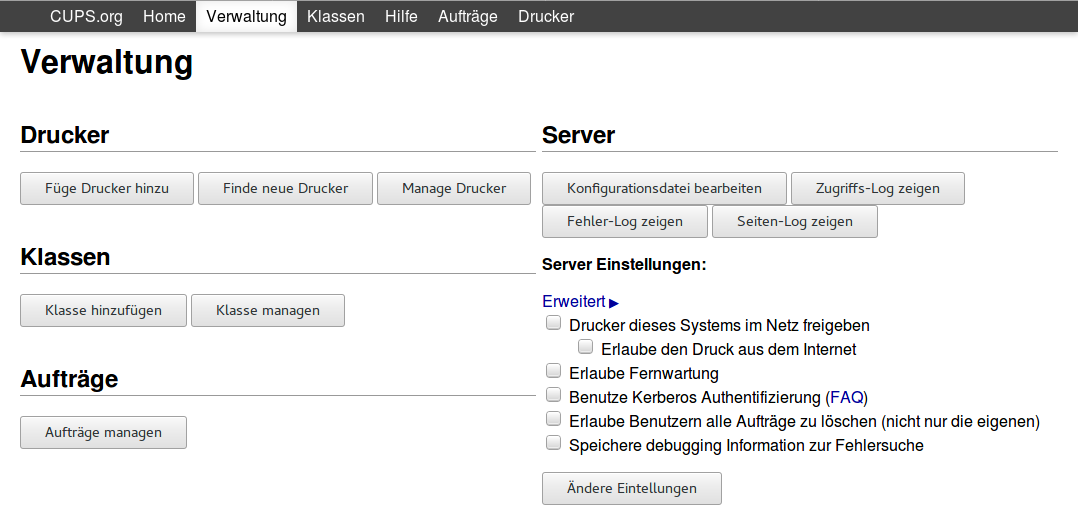
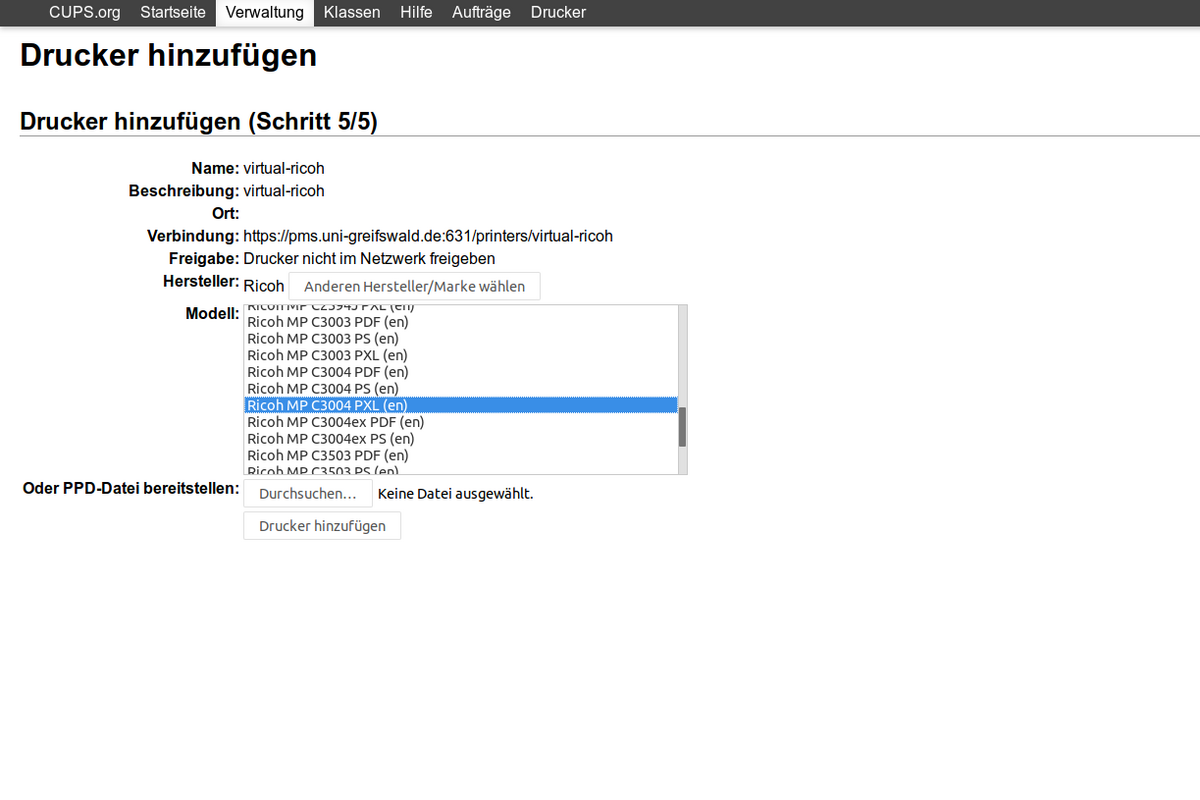
The virtual network printer will be setup in a web browser via the local CUPS page: localhost:631.
Via Administration you can add a new printer in the Printer section. When the system asks for username and password, please use the local credentials from your computer. On some systems the credentials of the root user are required.