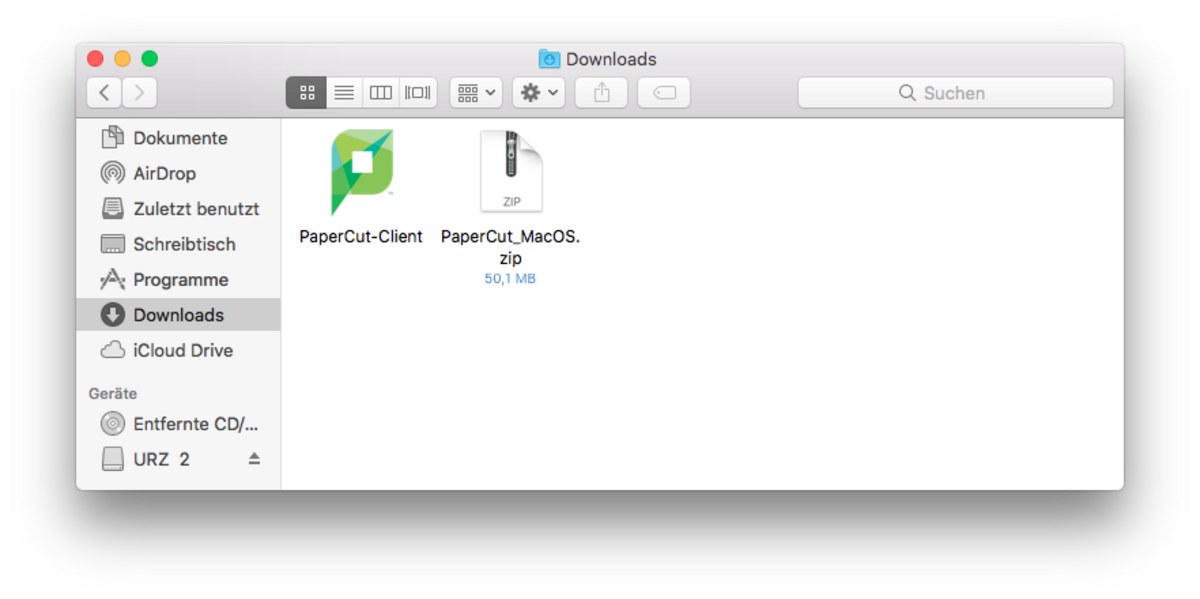
- PaperCut_macOS.zip50 MB
After downloading please extract the zip-file into a folder. Using Finder drag the app PaperCut-Client into Programs.
At the first start you have to give the permission to execute this app. Afterwards you will be asked for your credentials of your central user account.
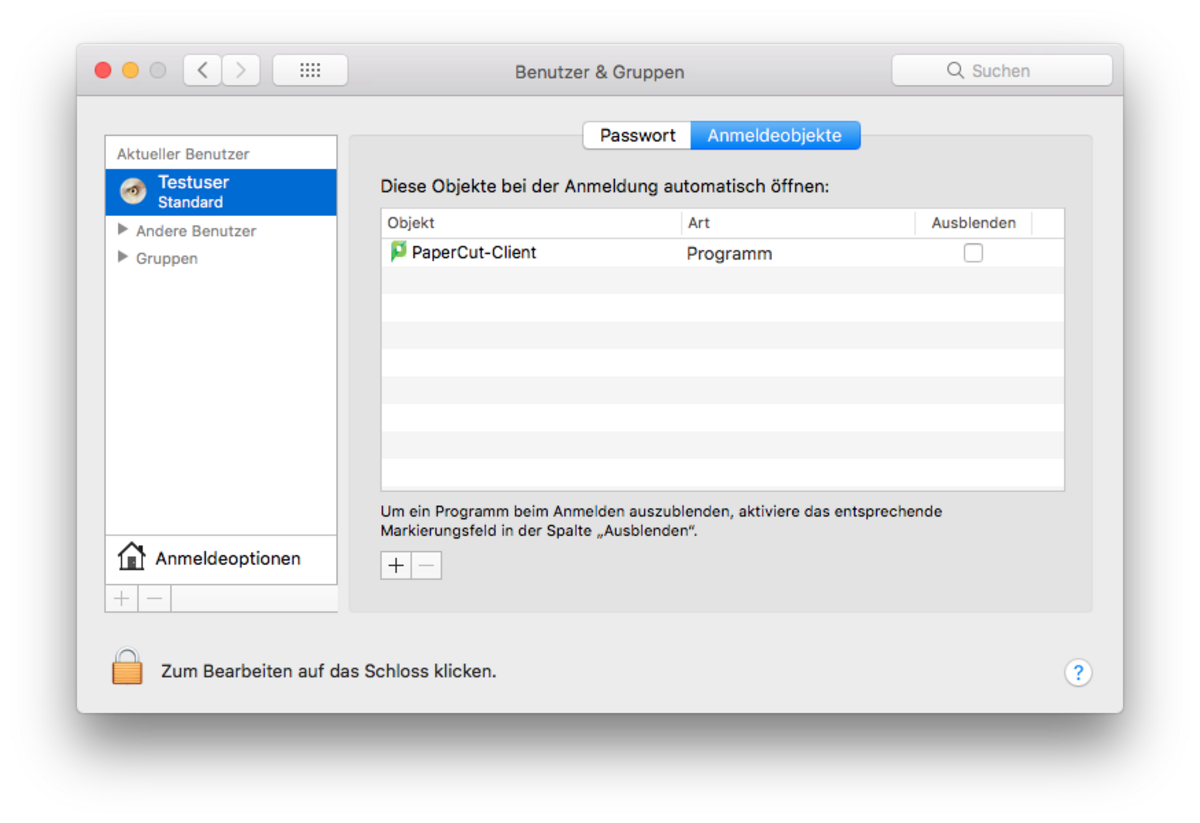
To open the PaperCut client automatically after a restart the app needs to be added to the autostart.


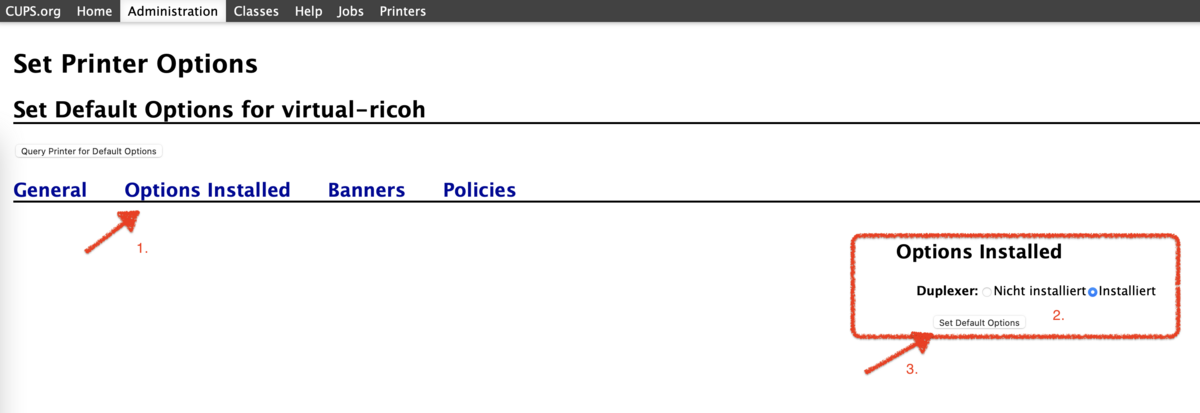
Via Administration you can add a new printer in the Printer section. When the system asks for username and password, please use the local credentials from your computer. On some systems the credentials of the root user are required.
To install and run the virtual network printer the packages cups and ghostscript need to be installed. In most distributions these packages are installed by default.
The virtual network printer will be setup in a web browser via the local CUPS page: localhost:631.
The web interface for CUPS is usually deactivated. When opening the page you get the error message: Web Interface is Disabled. To activate it you have to execute the following command inside the terminal:
Afterwards you can open the web interface via a web browser.
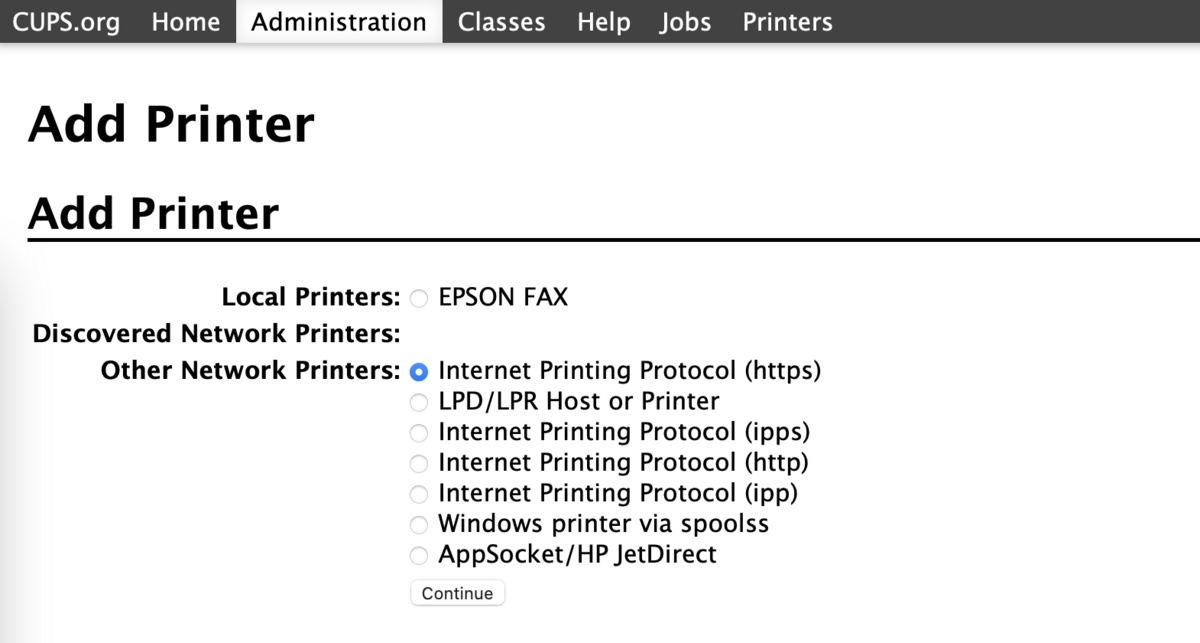
Via Administration you can add a new printer in the Printer section. When the system asks for username and password, please use the local credentials from your computer. On some systems the credentials of the root user are required.
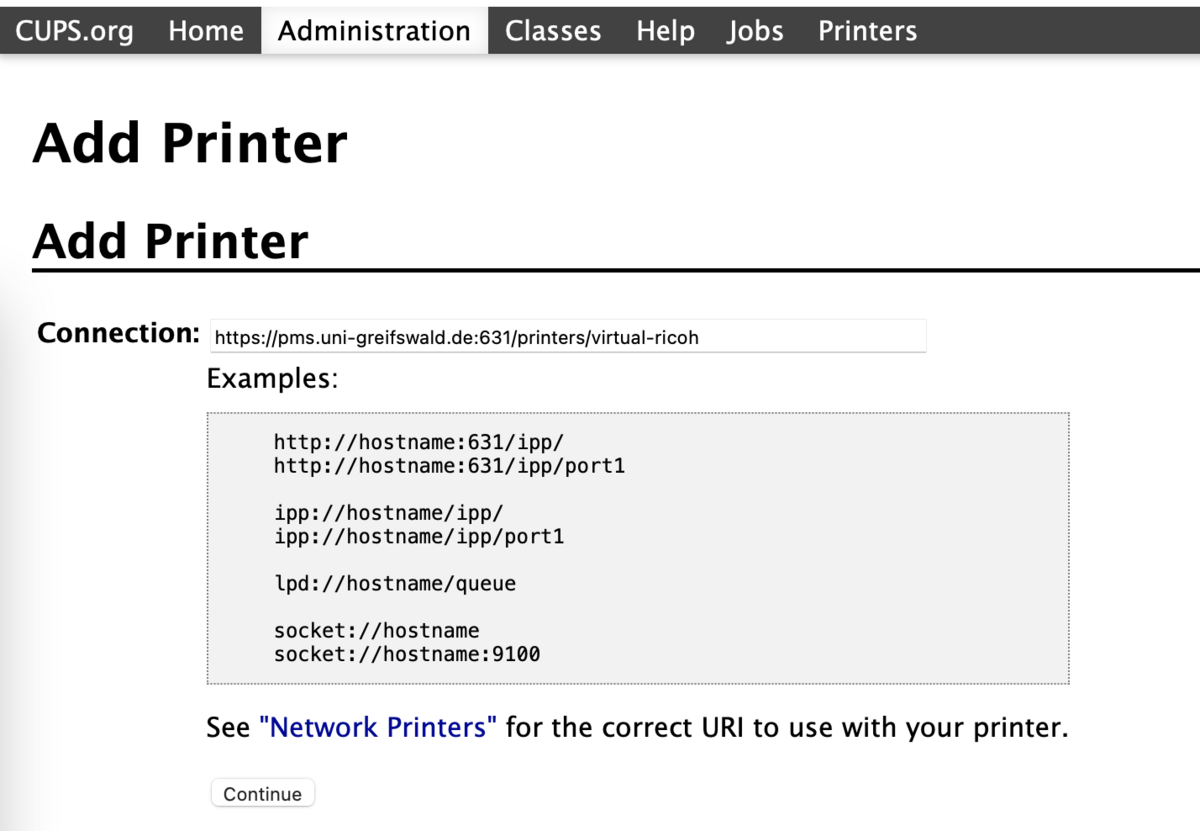
The printer is connected via Internet Printing Protocol (https). The URL of the printer is: