
Please extract the content of downloaded zip-file into a folder.
Inside of subdir Driversis the universal printer driver for Ricoh devices (64 Bit only).
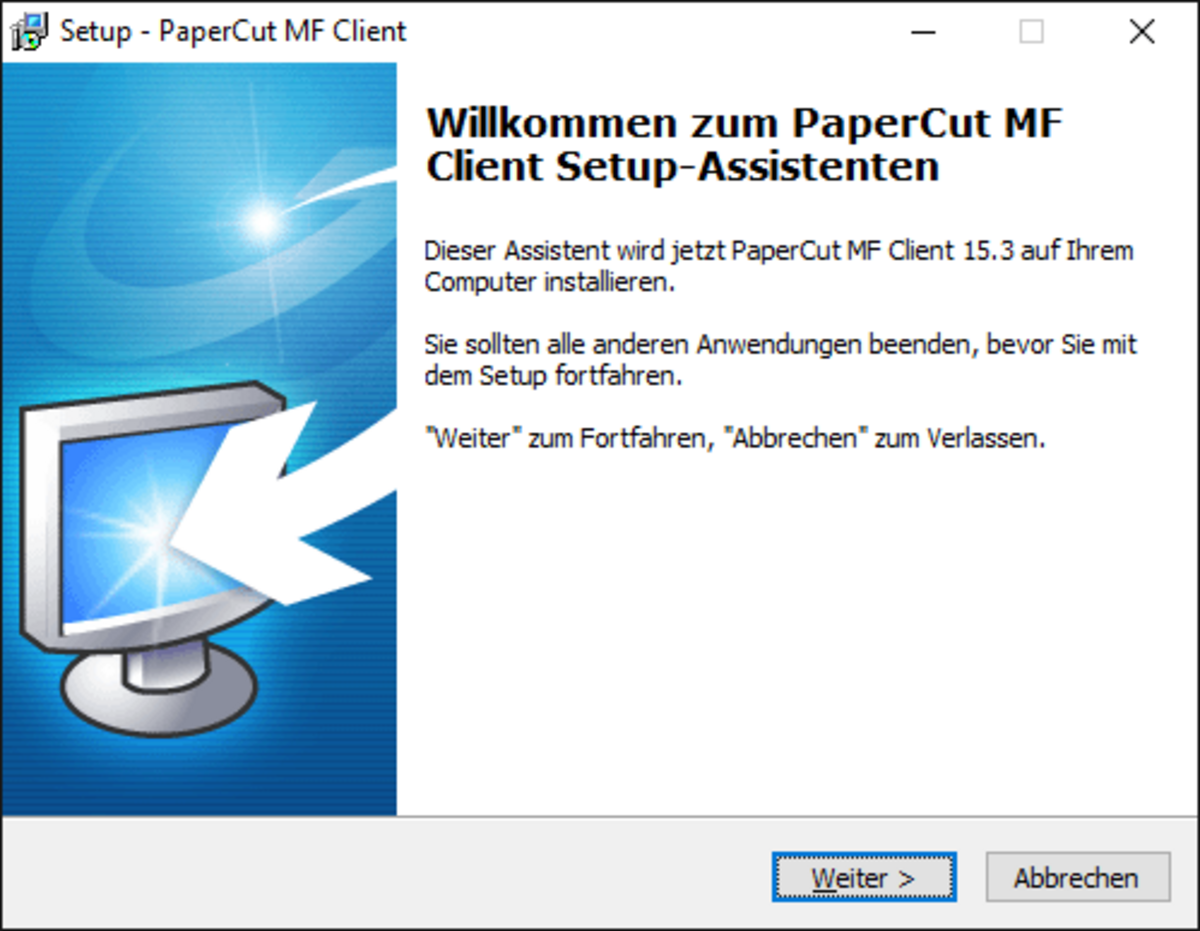
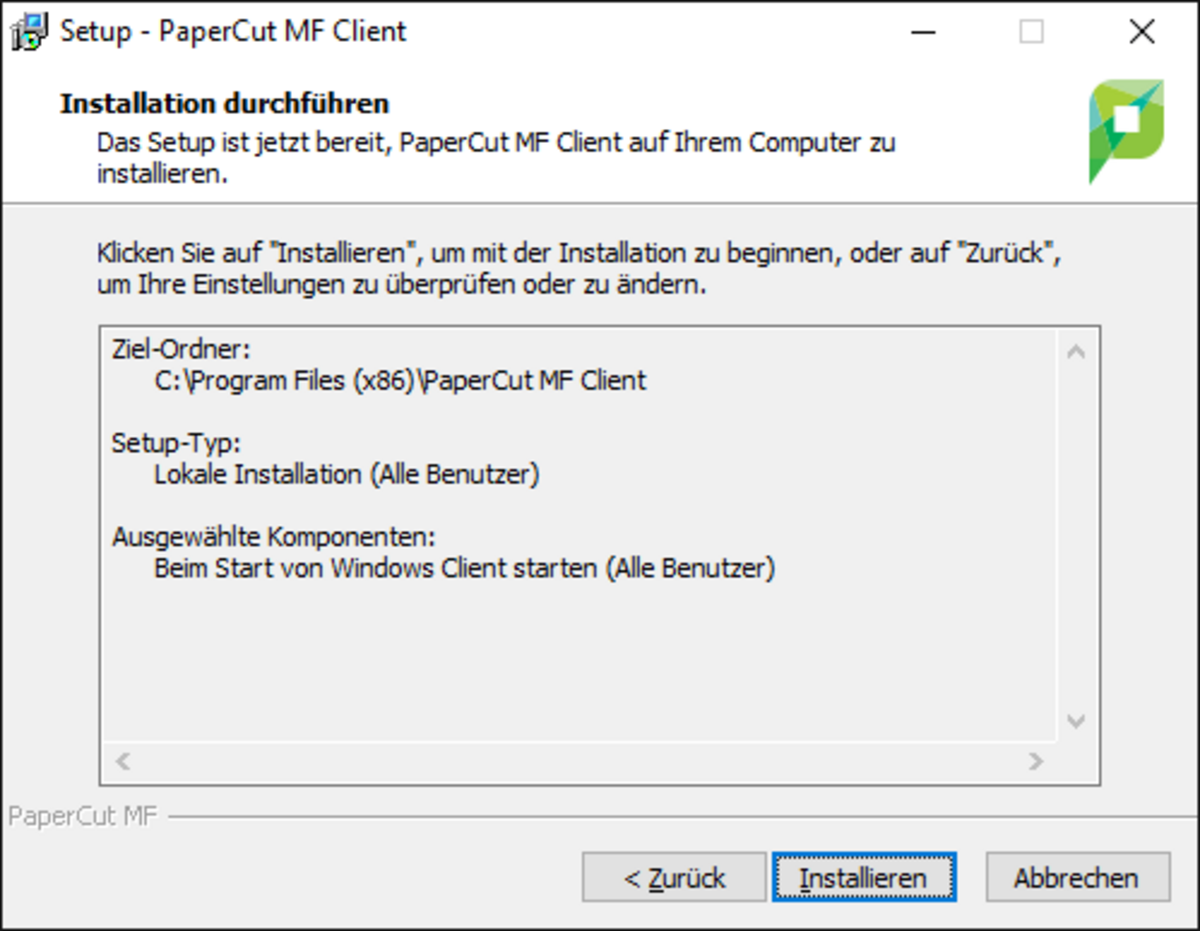
Inside of subdir Clientis the setup file client-local-install.exe. Please click on this file with the right mouse button and select Run as administrator from the context menu to start the setup of the PaperCut client.
The setup process is shown in the following screenshots.
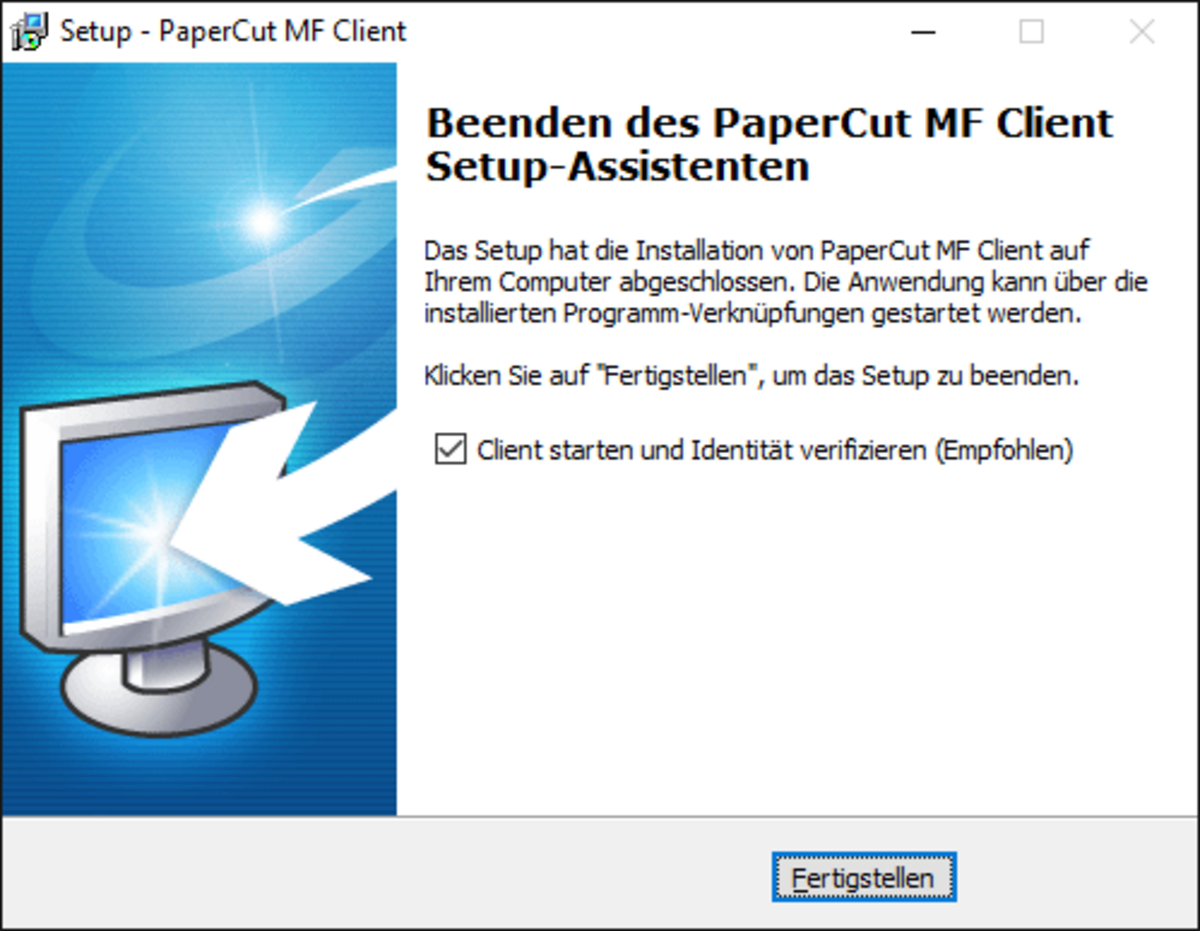
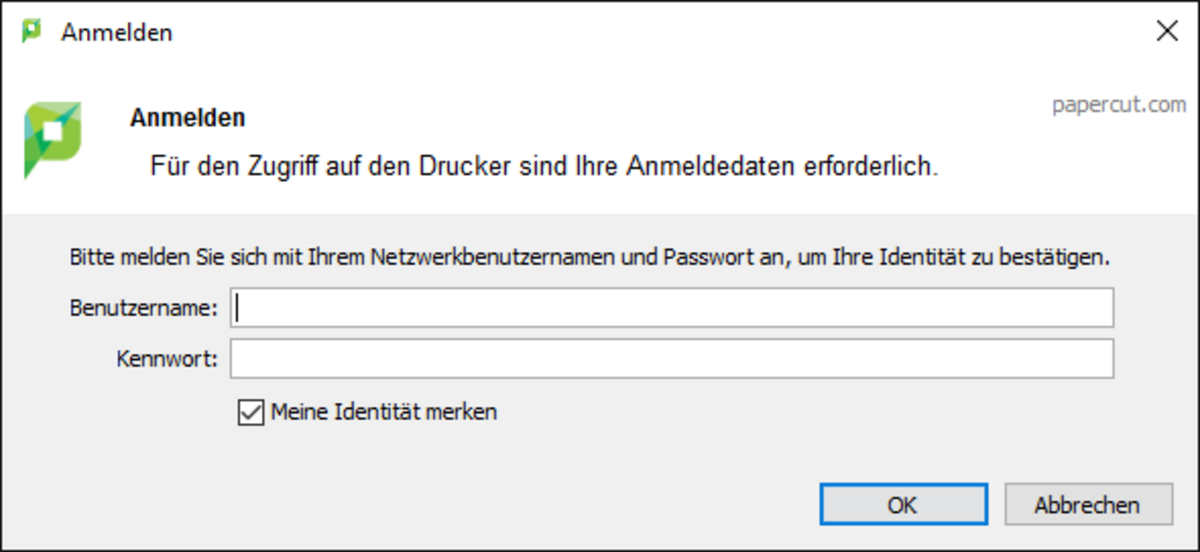
After the setup you will be asked for your credentials of your central user account.

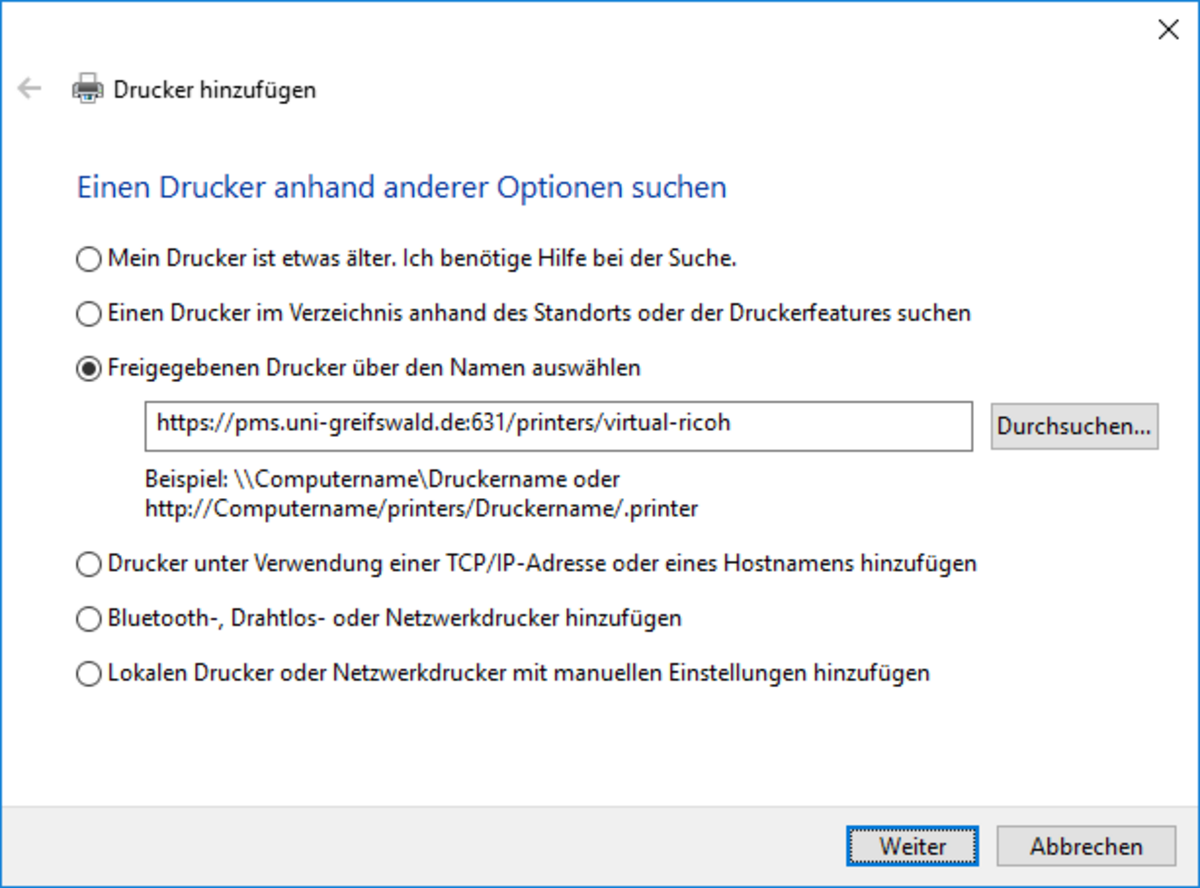
The next step is to install the virtual network printer. In Windows 7 open Devices and printers via the start menu and select Add printer. In Windows 10 search for Printers and scanners via the start menu and select Add printer or scanner.
Then use the option, that the printer could not be found in the list, so you can enter the name for the shared printer yourself:
During the installation you will be asked for the drivers. They can be found inside the folder Drivers/Ricoh_Universal from the extraced zip-file. After selecting oemsetup.inf there are two printer names to chose from, please use PCL6 Driver for Universal Print.

After the installation the printer "virtual-ricoh at pms.uni-greifswald.de" is available. Since all upcoming print jobs should be done via this printer it is recommened to select it as the default printer.