Step by step
- Open your course in the browser (if you have already requested it, you will find a URL in your confirmation email).
- Activate the editing mode. To do so either navigate to the menu item ‘Turn editing on’ in the ‘Administration’ block or activate the button with the same label in the top right corner of your screen.
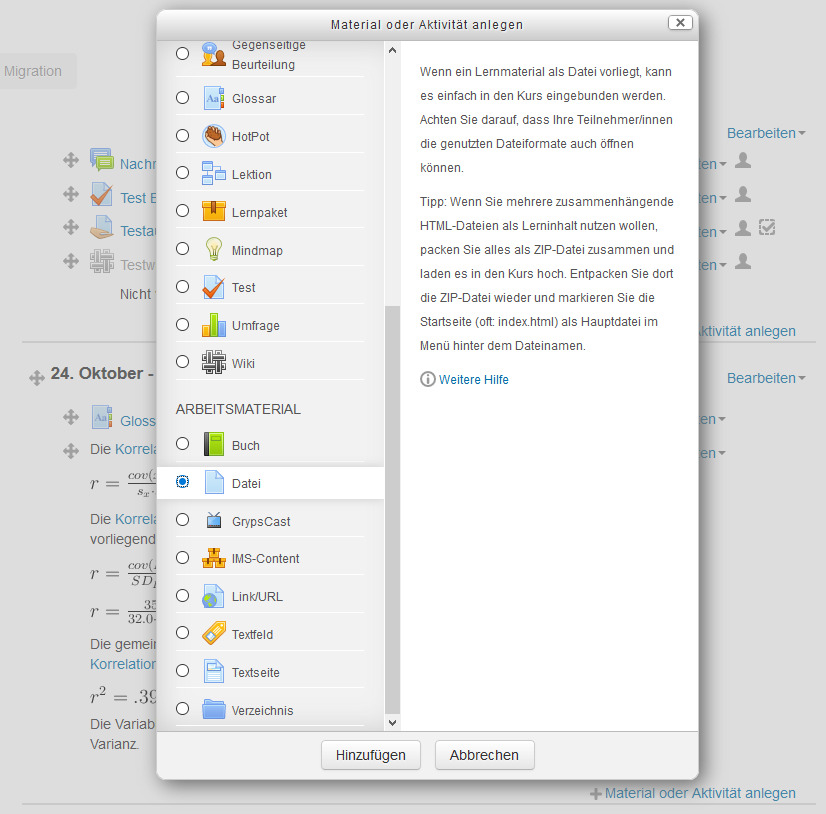
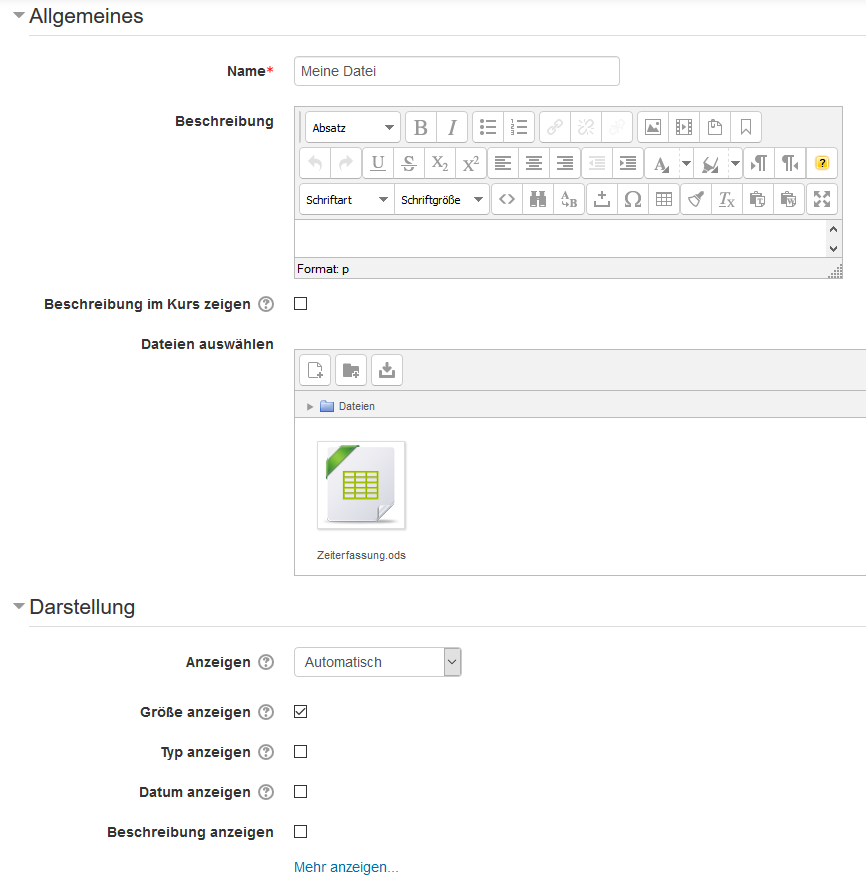
- Drag one or how ever many files (e.g. from your desktop) into your browser using drag&drop and drop them in the desired section of the course. You can then move, hide, rename or delete these files at any time. Alternatively, you can also add the files by clicking on ‘add an activity or resource’ in the respective section of the course. To do so select the file module from the list and follow the further instructions. This makes it possible for you to define additional settings for handling similar files.
Please note: It is not possible to add folders or file directories via drag&drop. If you would still like to display the structure of a folder, use the resource ‘folder’ from the list of available objects. This list can be opened at any time by clicking on ‘add an activity or resource’ in the desired section of the course.


