VPN setup on Windows
This article explains how to set up VPN access to the university network on Windows.
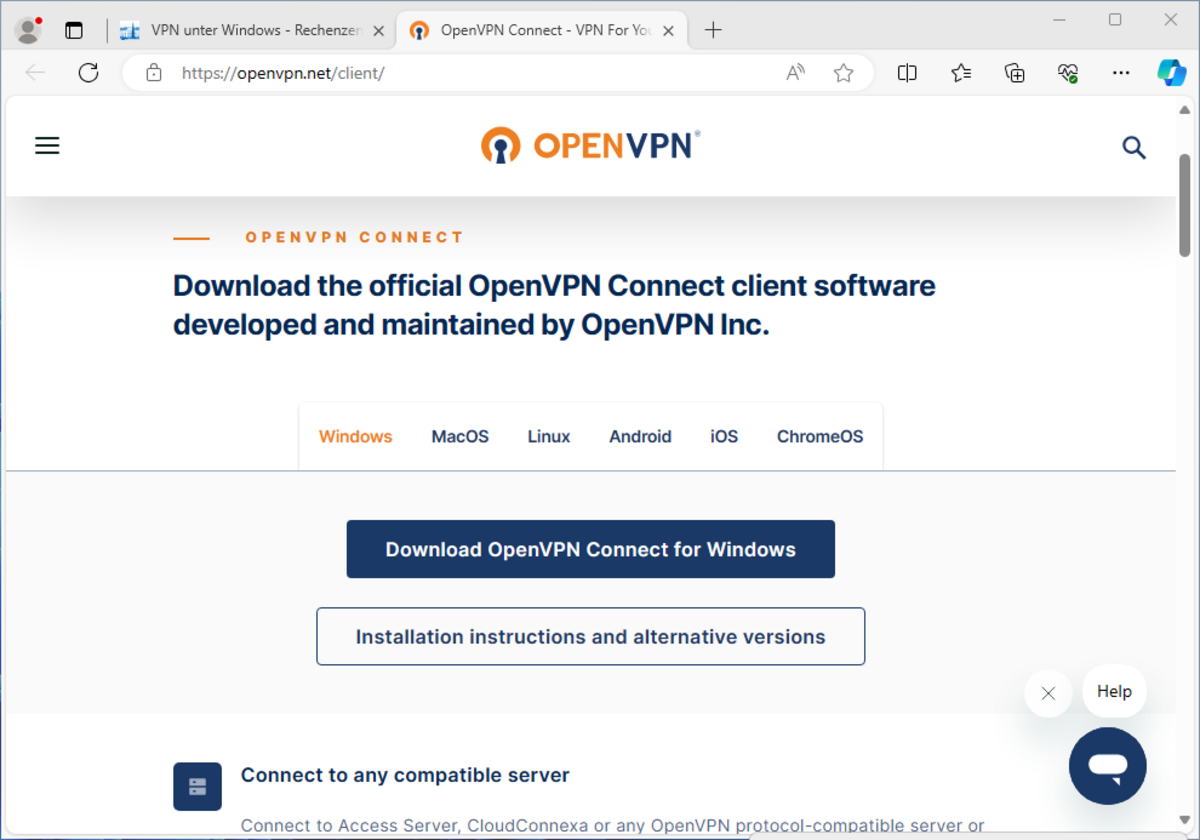
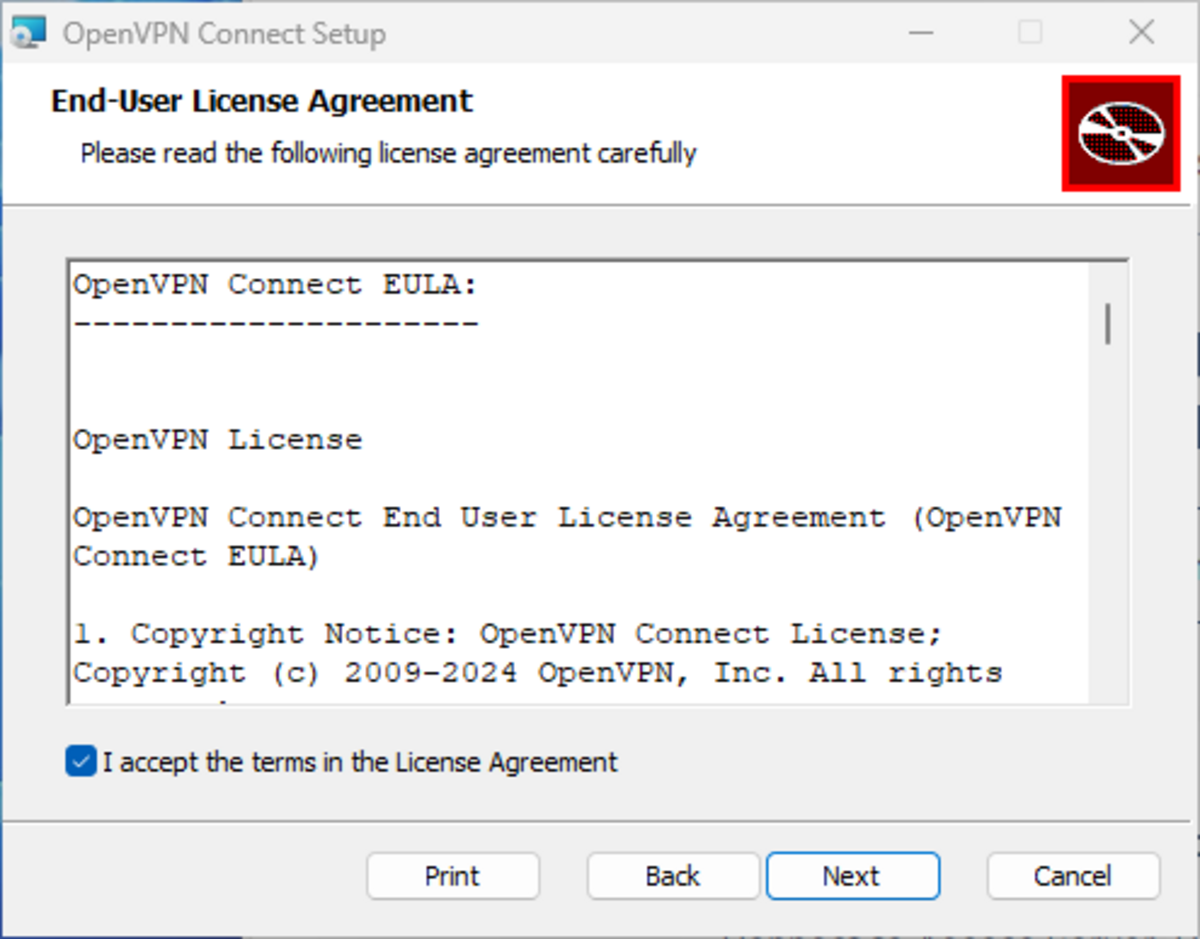
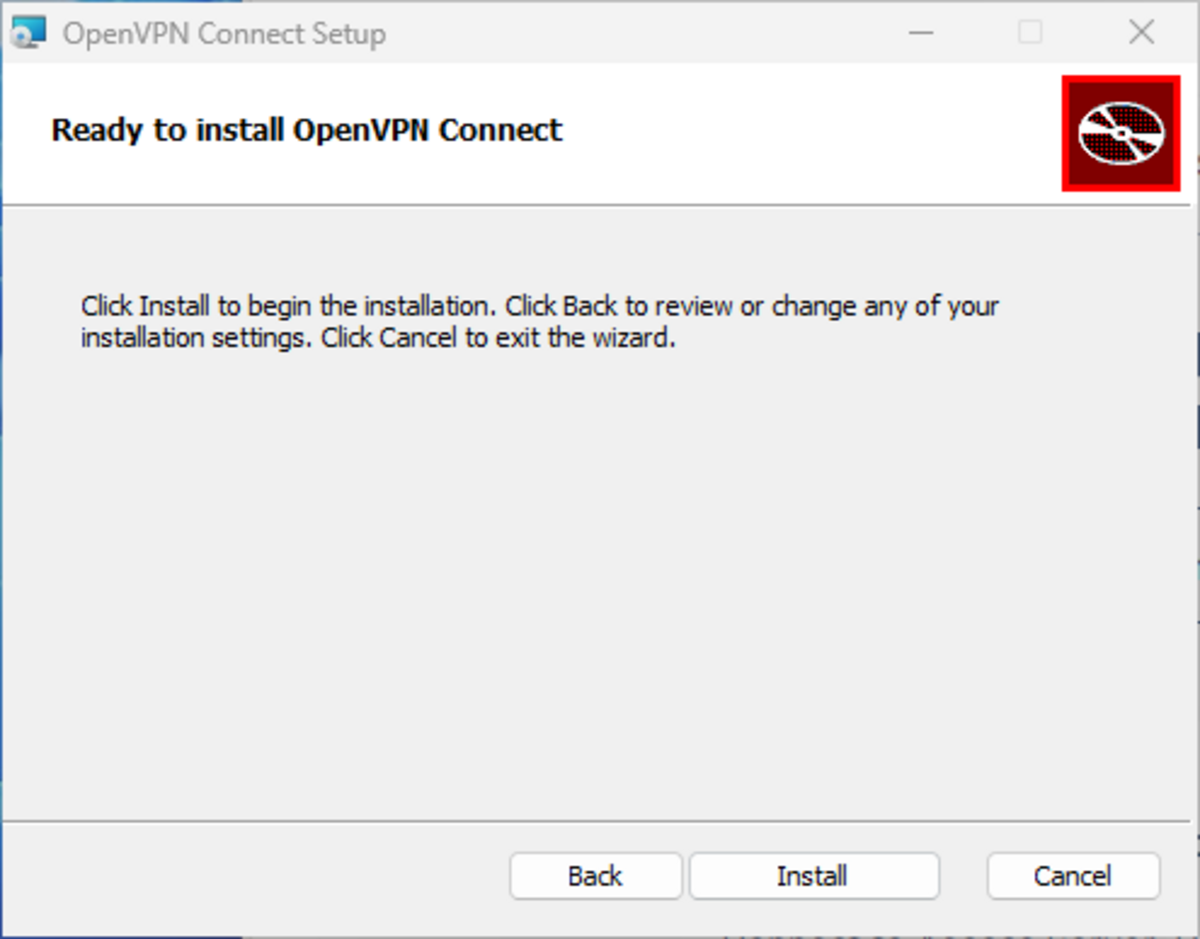
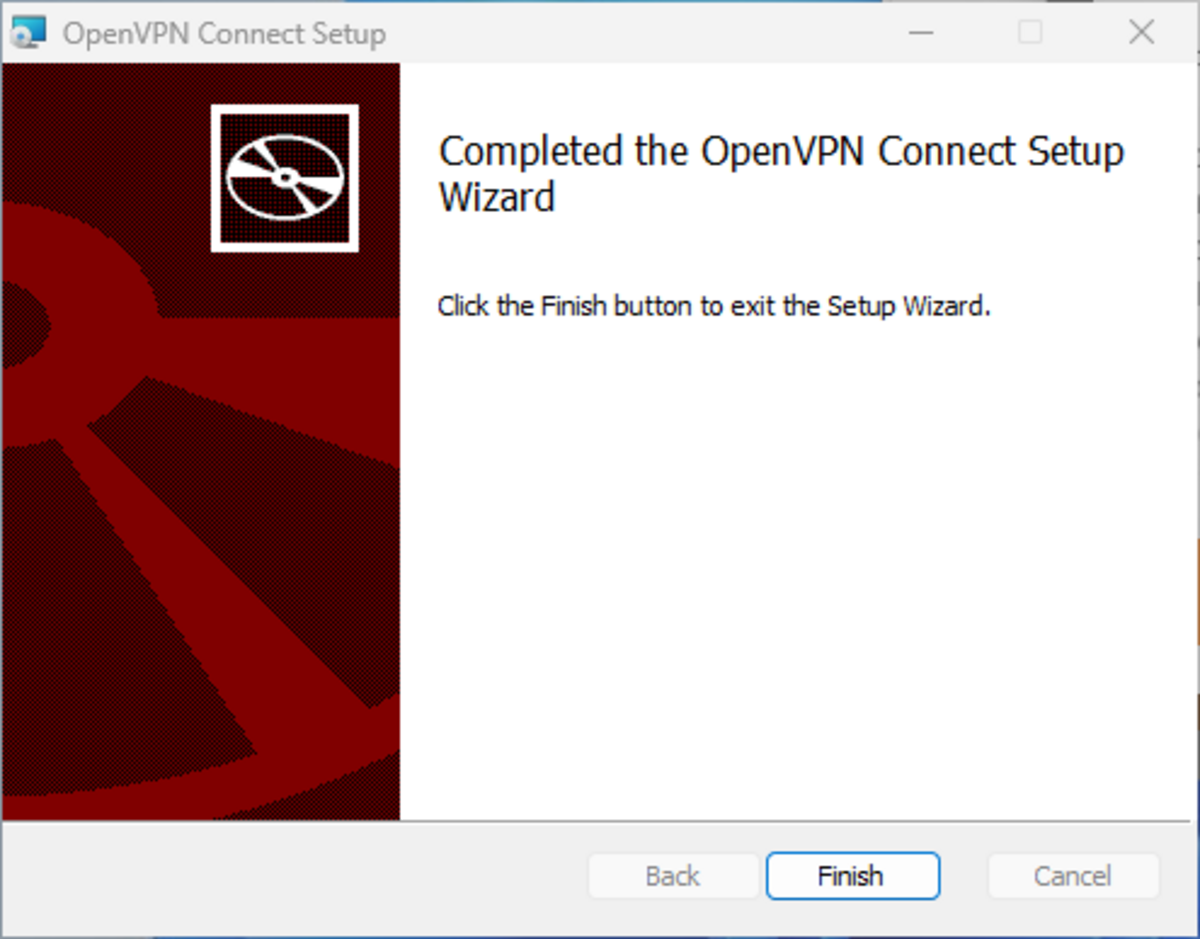
1. Download and install the OpenVPN Connect app
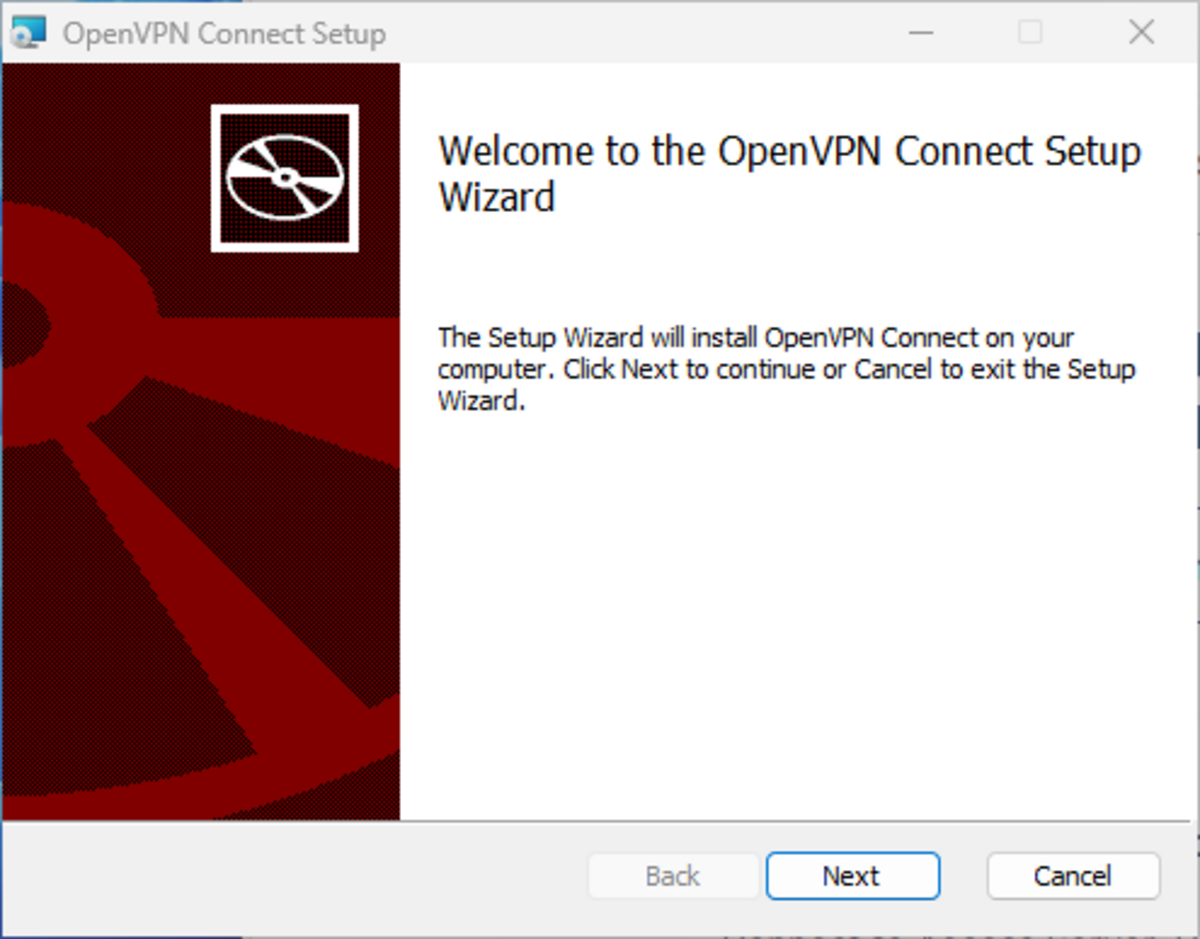
If you have not already done so, first install the OpenVPN Connect app. To do this, download the OpenVPN Connect for Windows installation file, execute the file and follow the installation instructions.
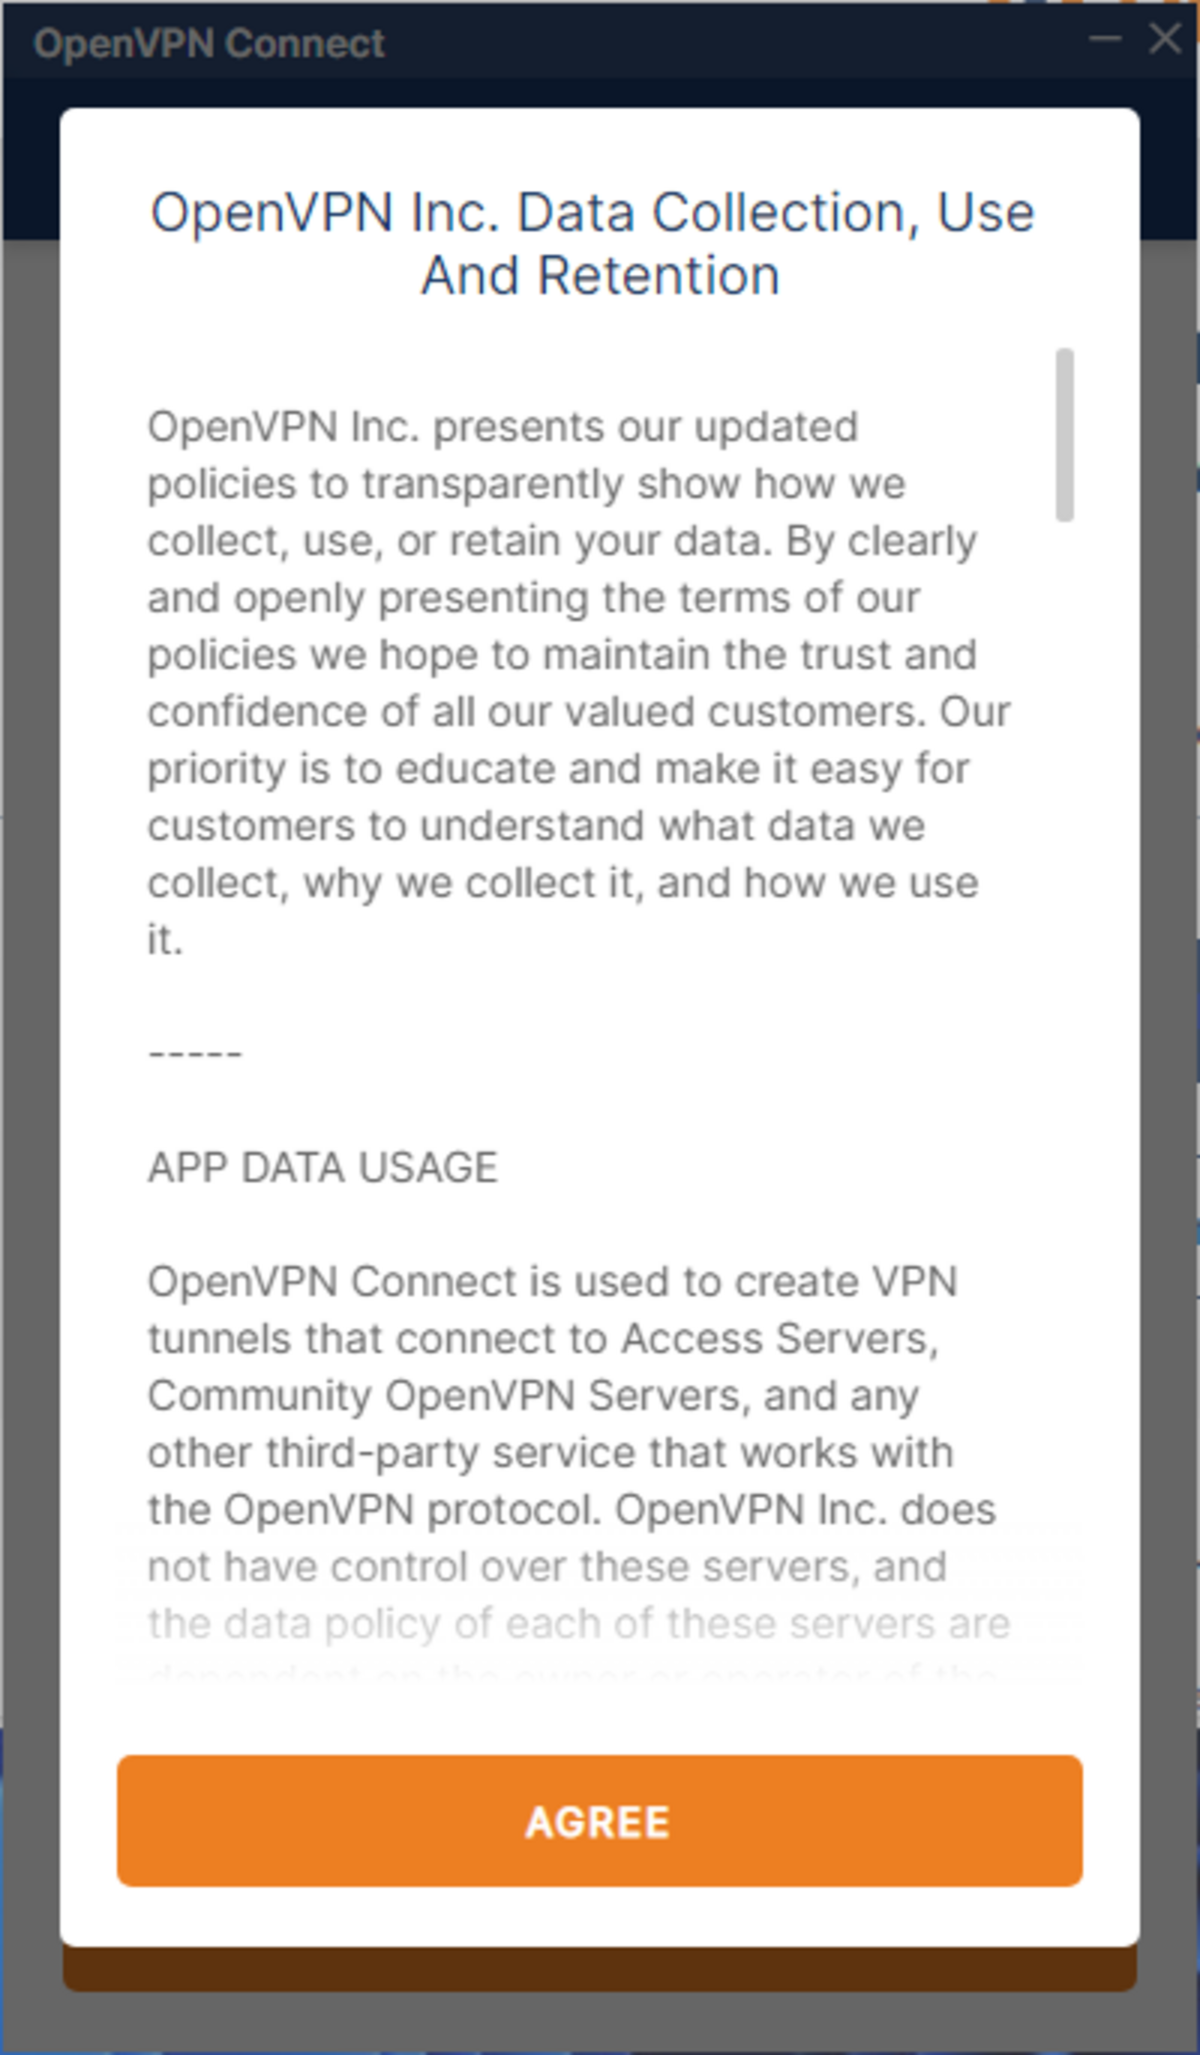
Once the installation is complete, OpenVPN Connect will start automatically. Confirm the privacy policy by clicking on AGREE.
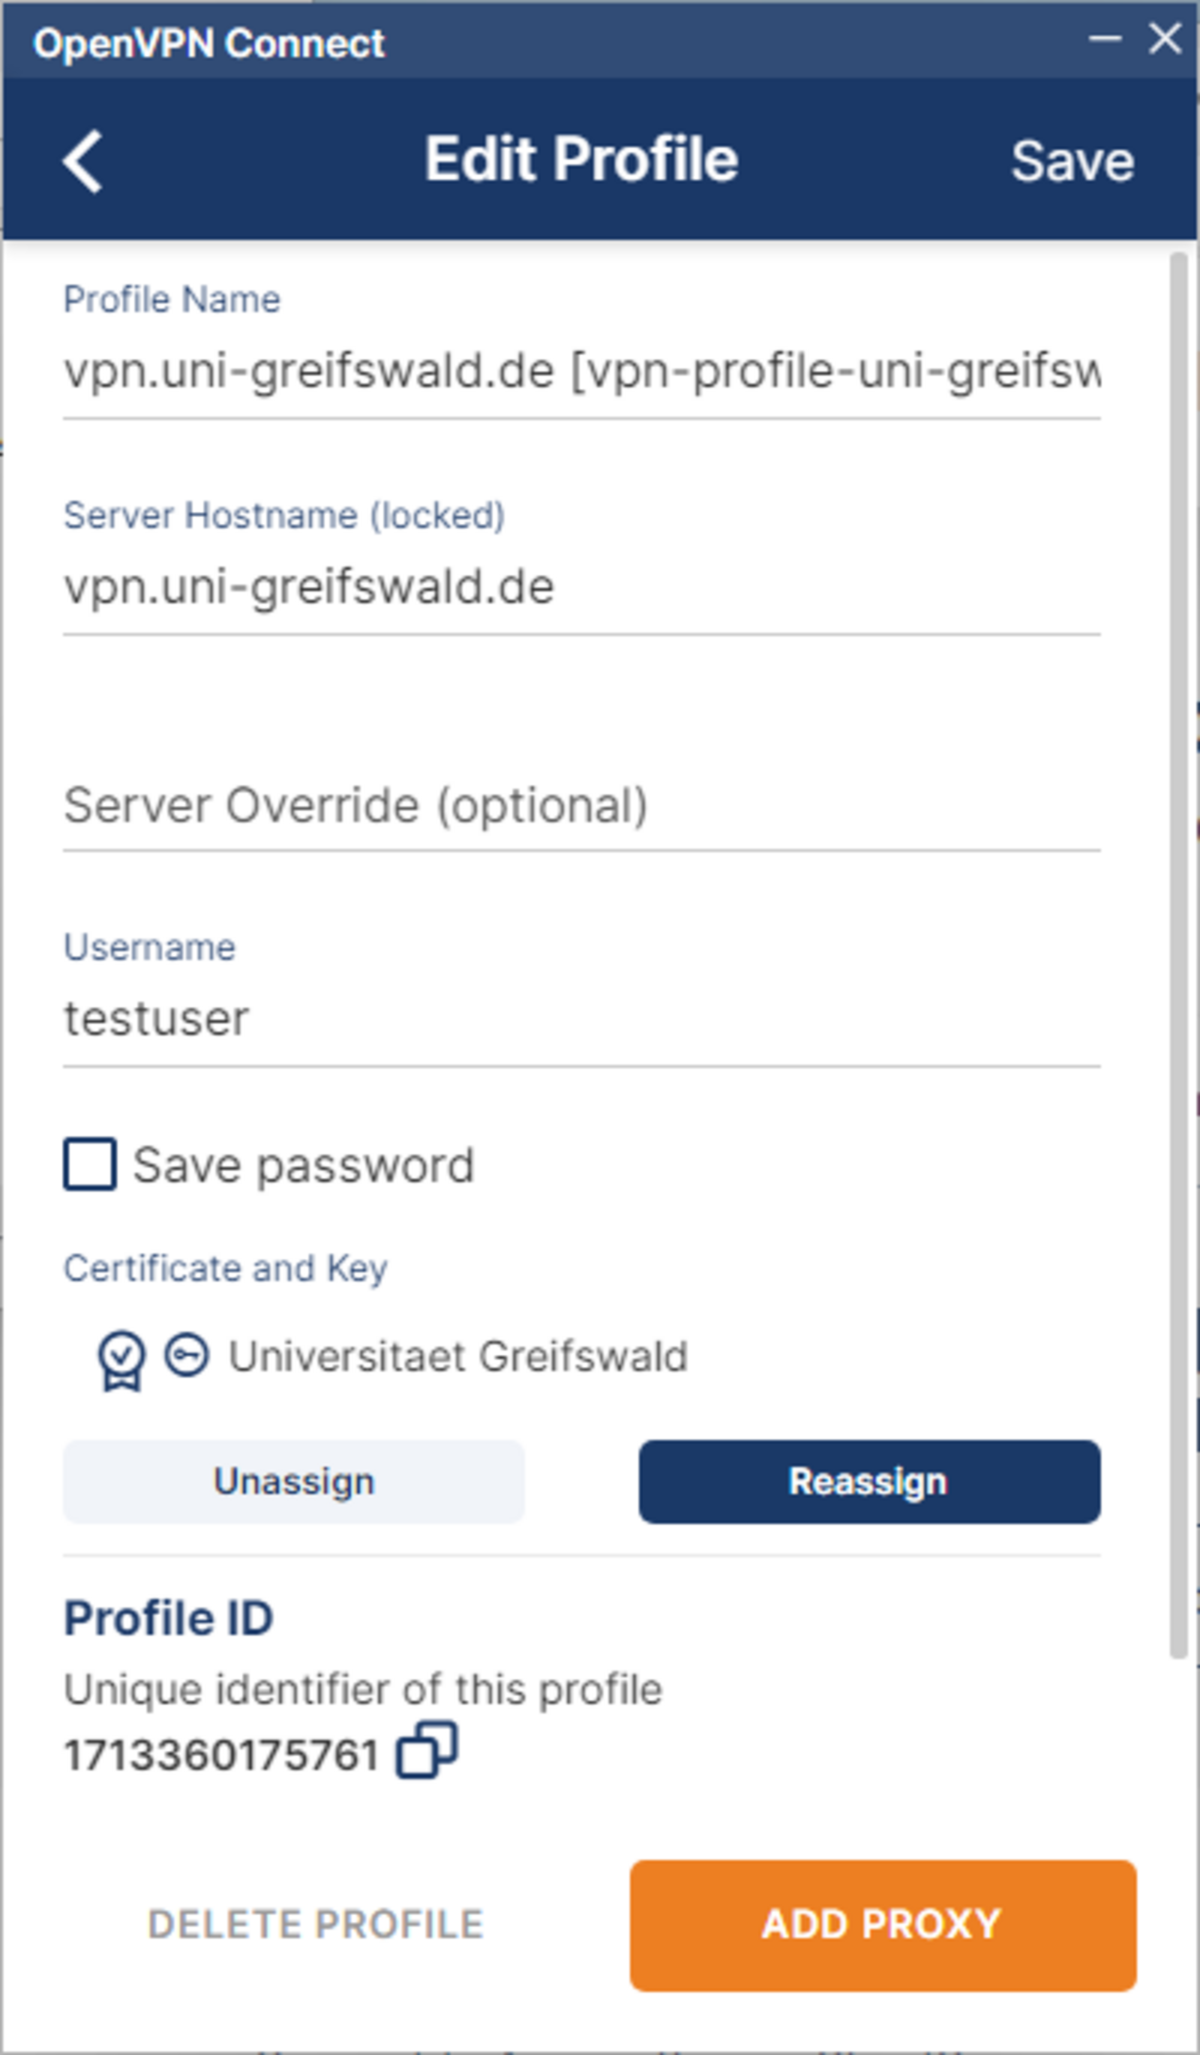
2. Delete existing configuration
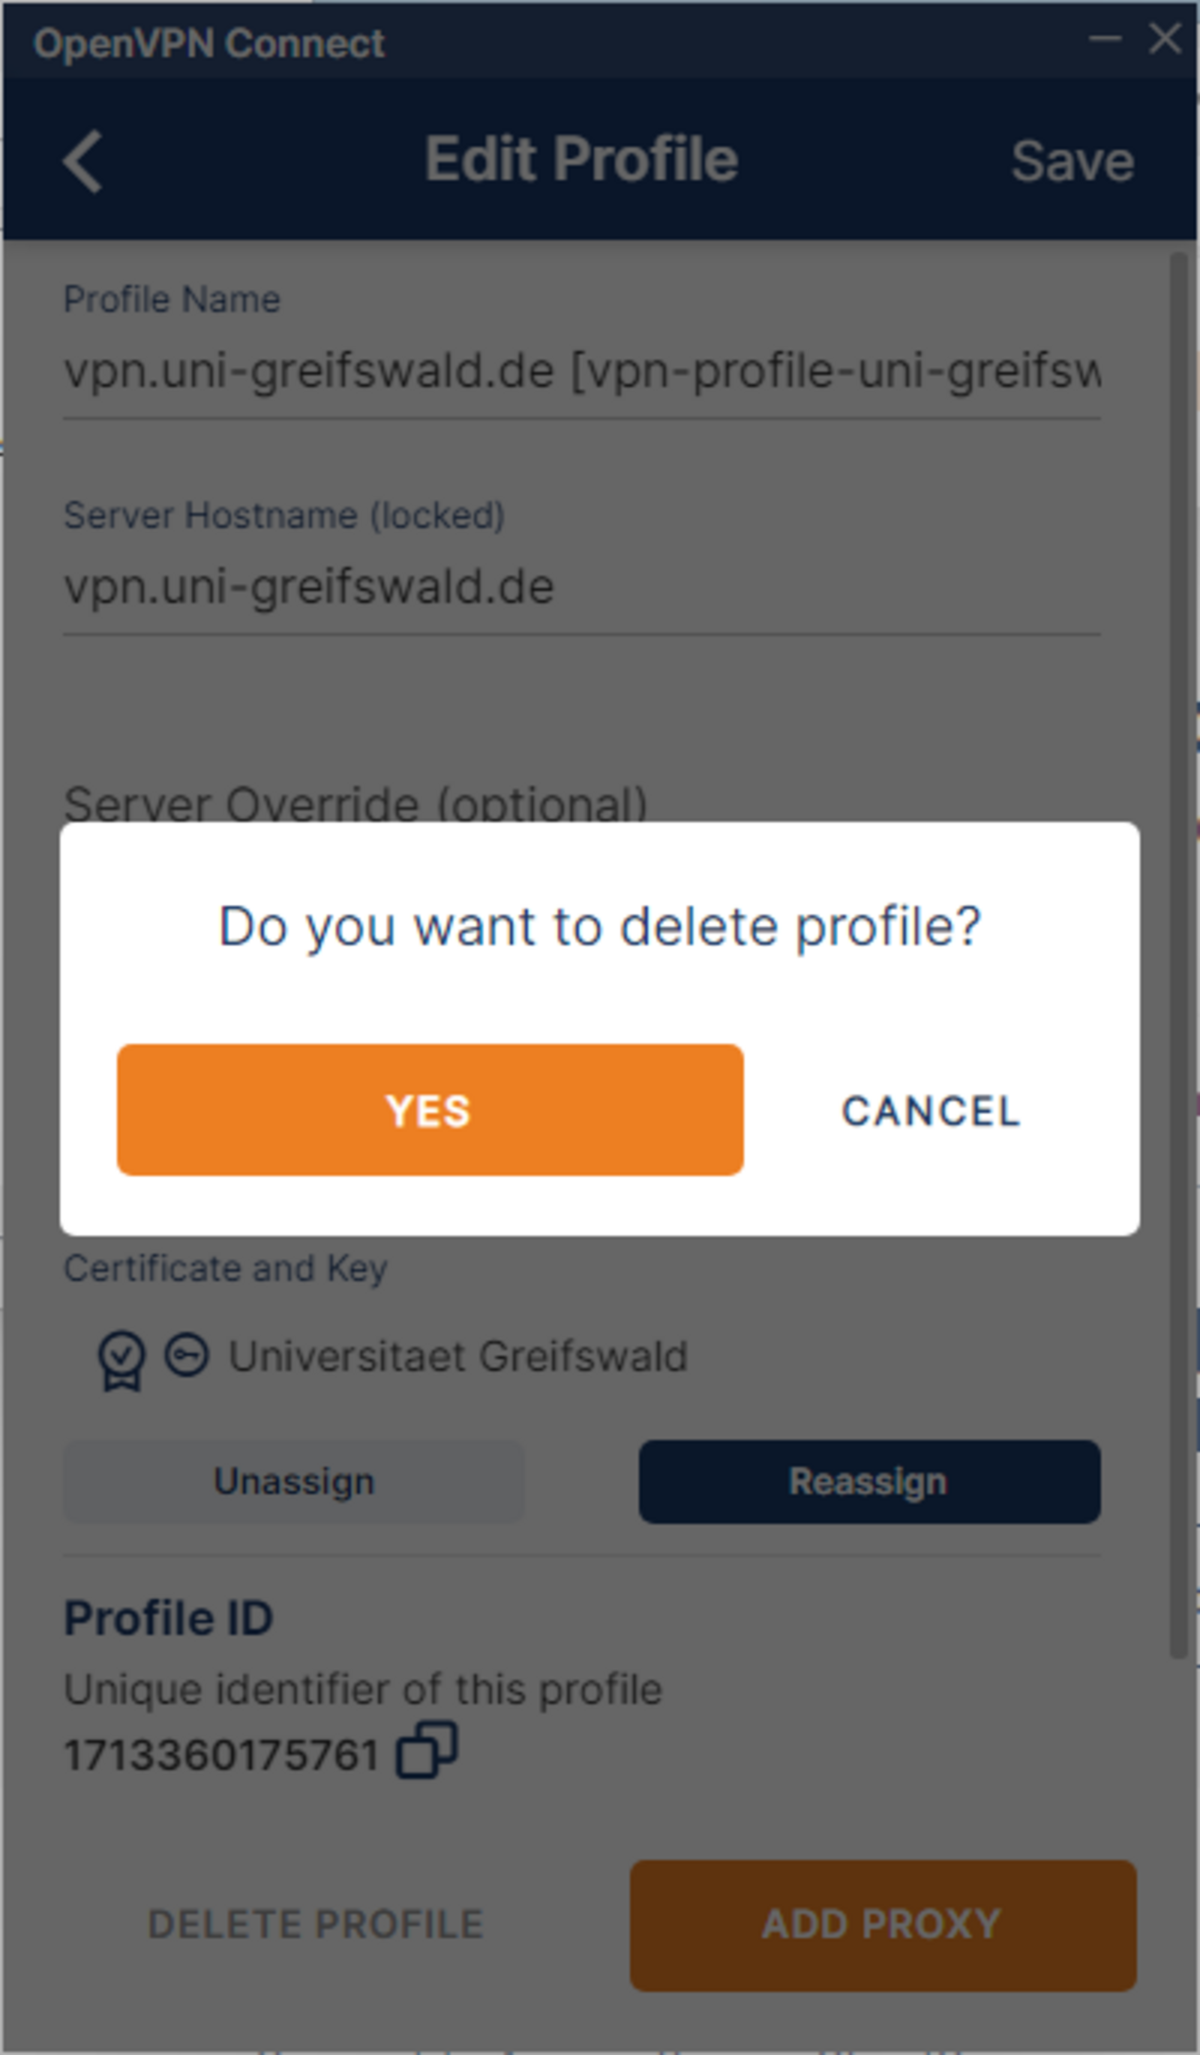
If you already have an existing VPN configuration, please delete it first. To do this, open the OpenVPN Connect app. Click on the pencil to the right of the current VPN configuration to enter edit mode. Now select DELETE PROFILE at the bottom. Confirm the deletion with YES.


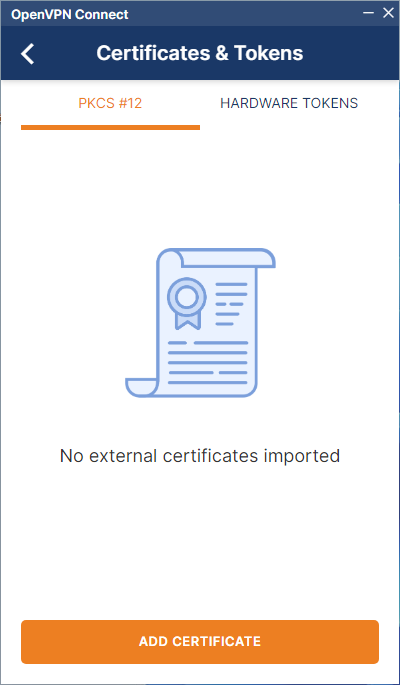
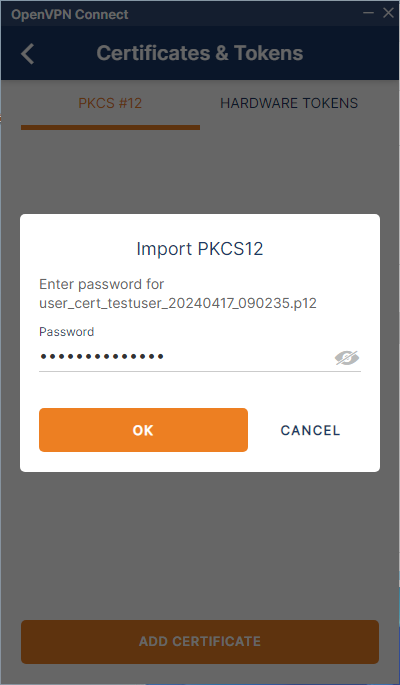
3. Import user certificate
Have your valid user certificate (as a p12 key file) and the corresponding certificate password ready. Make sure that the file path to the certificate does not contain any special characters, spaces or umlauts, otherwise the import will not work (this bug has already been reported to the manufacturer).
Open the OpenVPN Connect app. Now click on the menu ☰ → Certificates & Tokens → ADD CERTIFICATES. Select your user certificate and click OK. Complete the import by entering the certificate password and clicking OK.
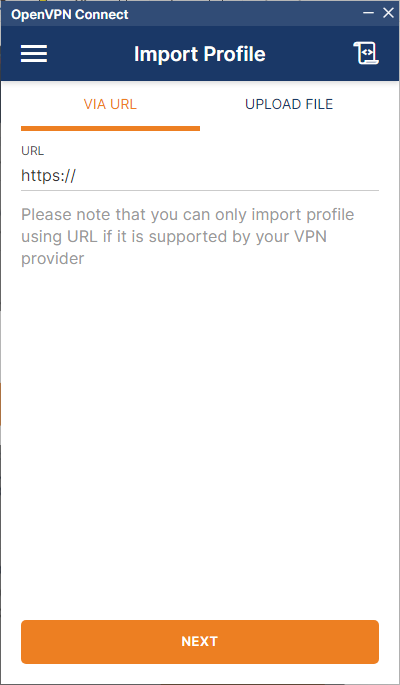

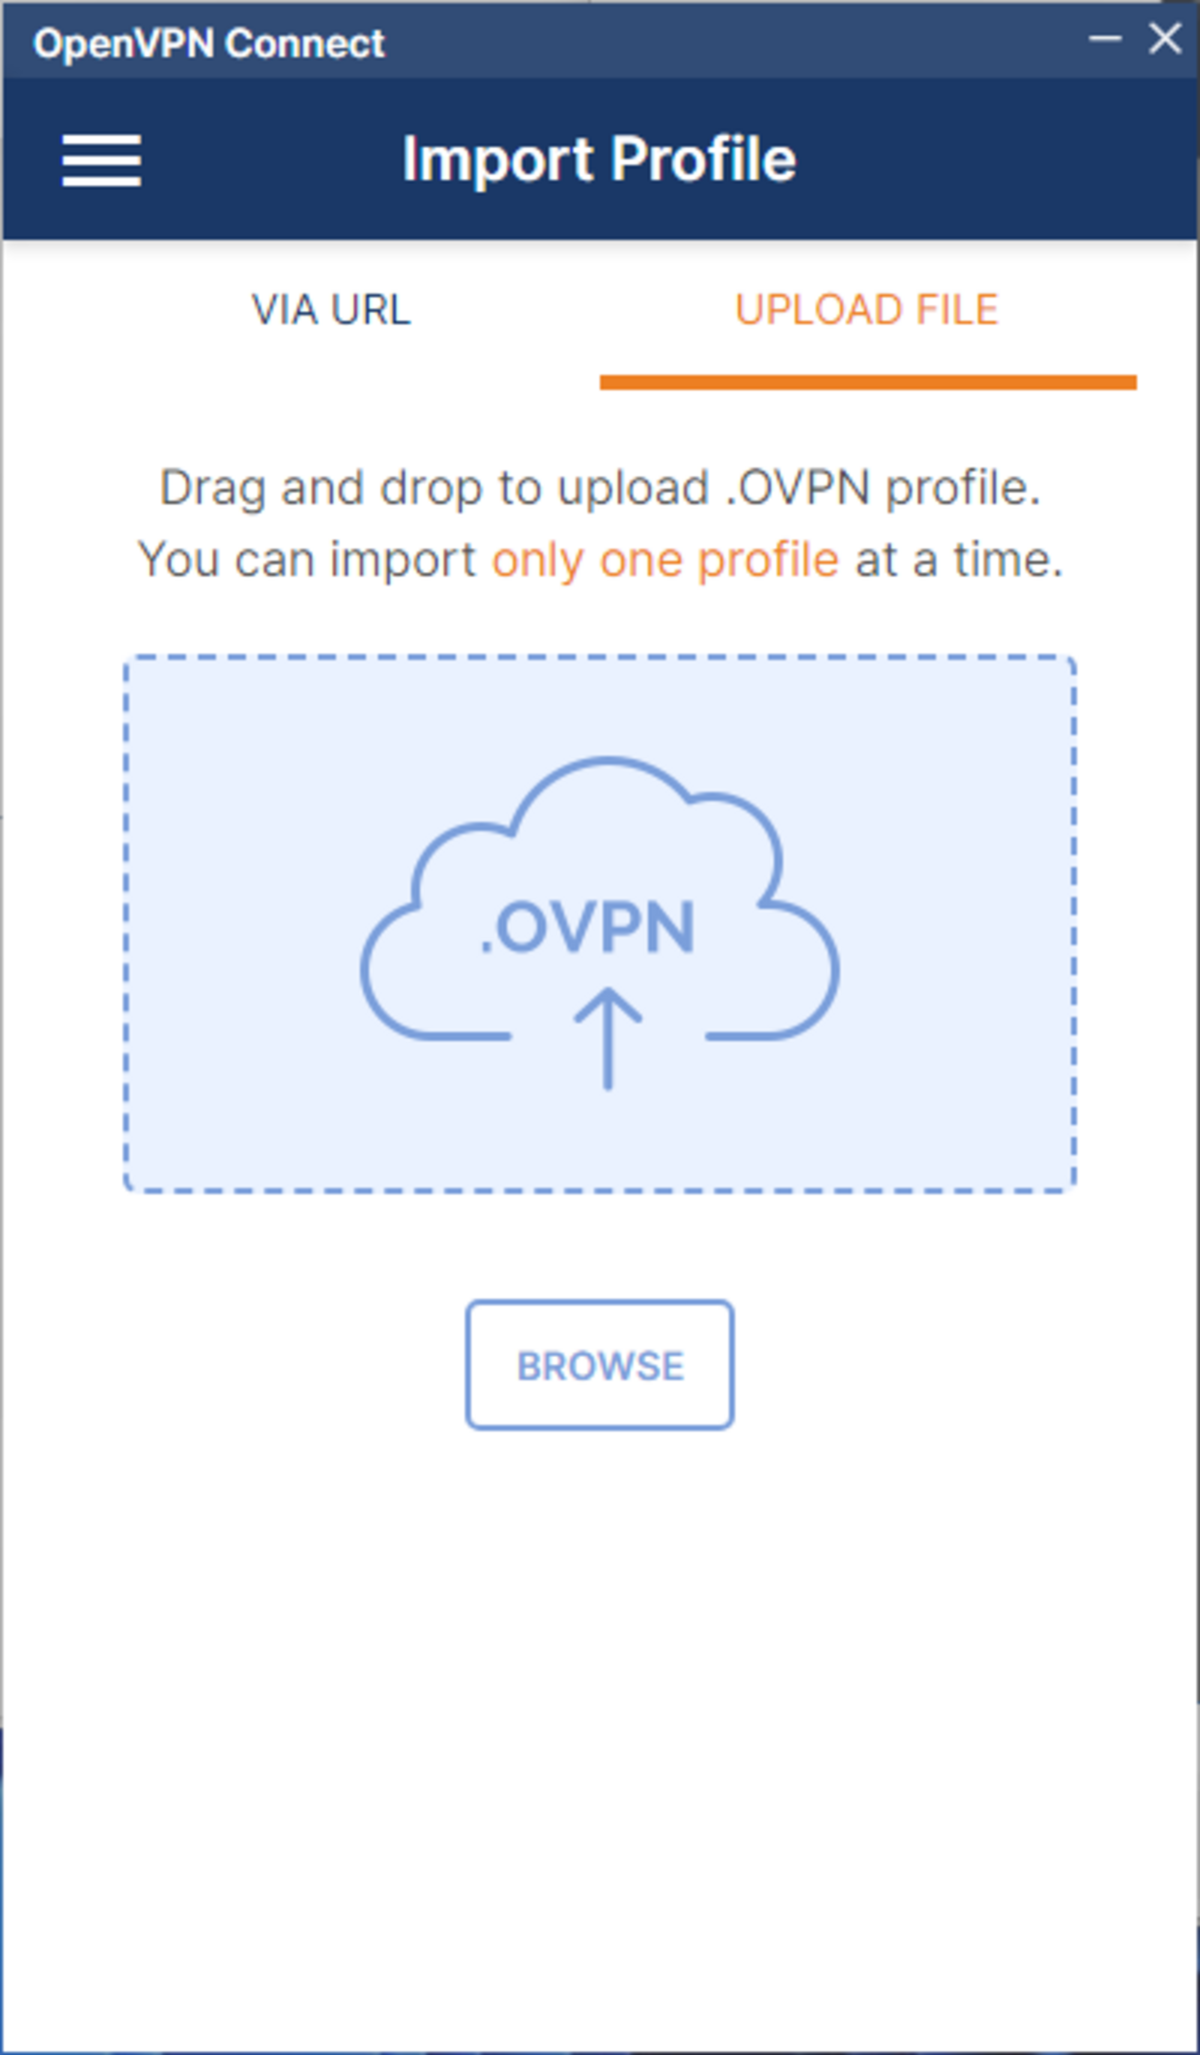
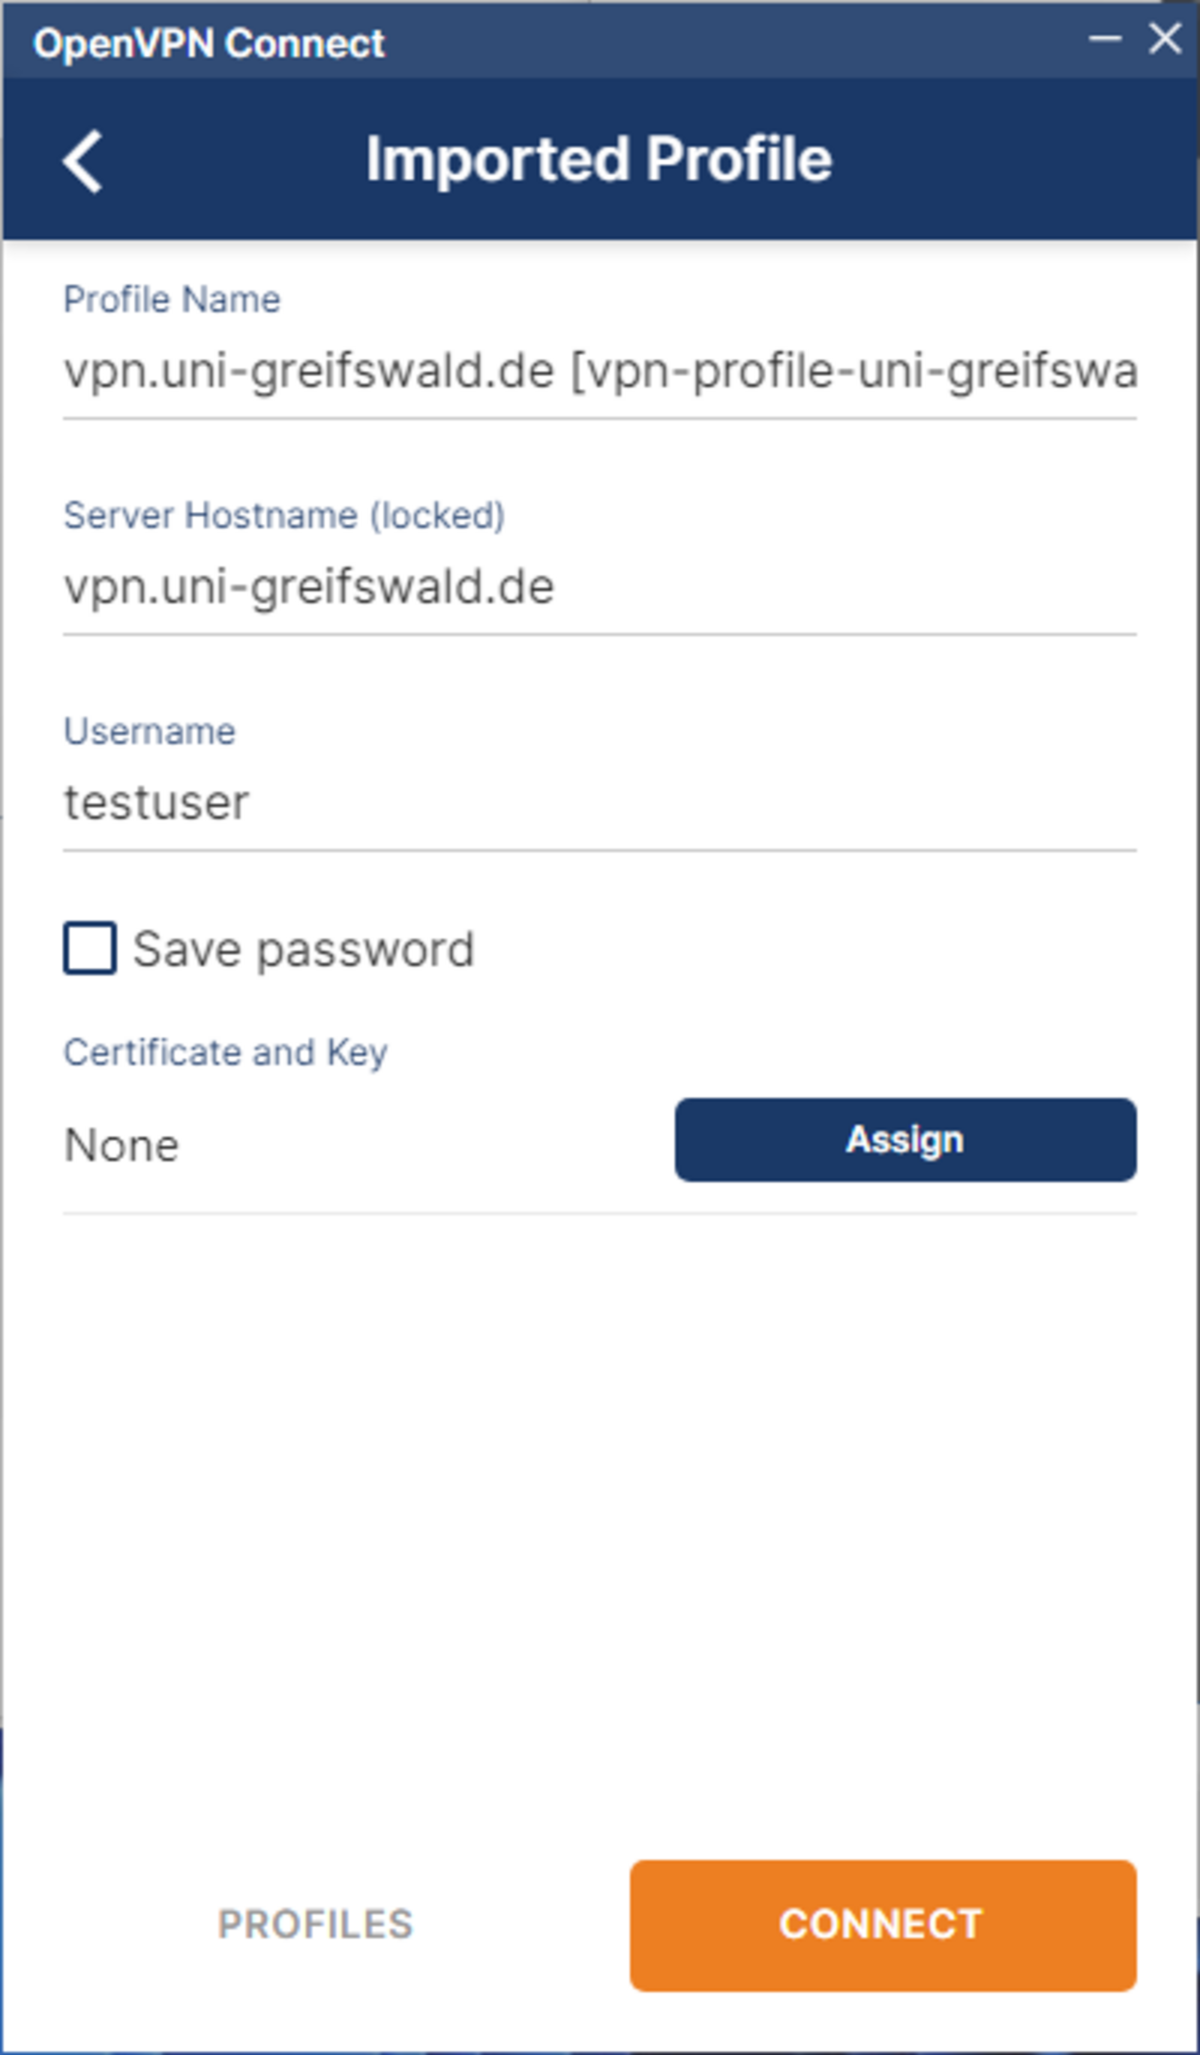
4. Download and import VPN profile
If you have not already done so, please download the VPN profile.
Import the downloaded VPN profile either by opening it (double-click) or go back to the menu in the OpenVPN Connect app ☰ → Import Profile on the UPLOAD FILE tab, click BROWSE and select the VPN profile.
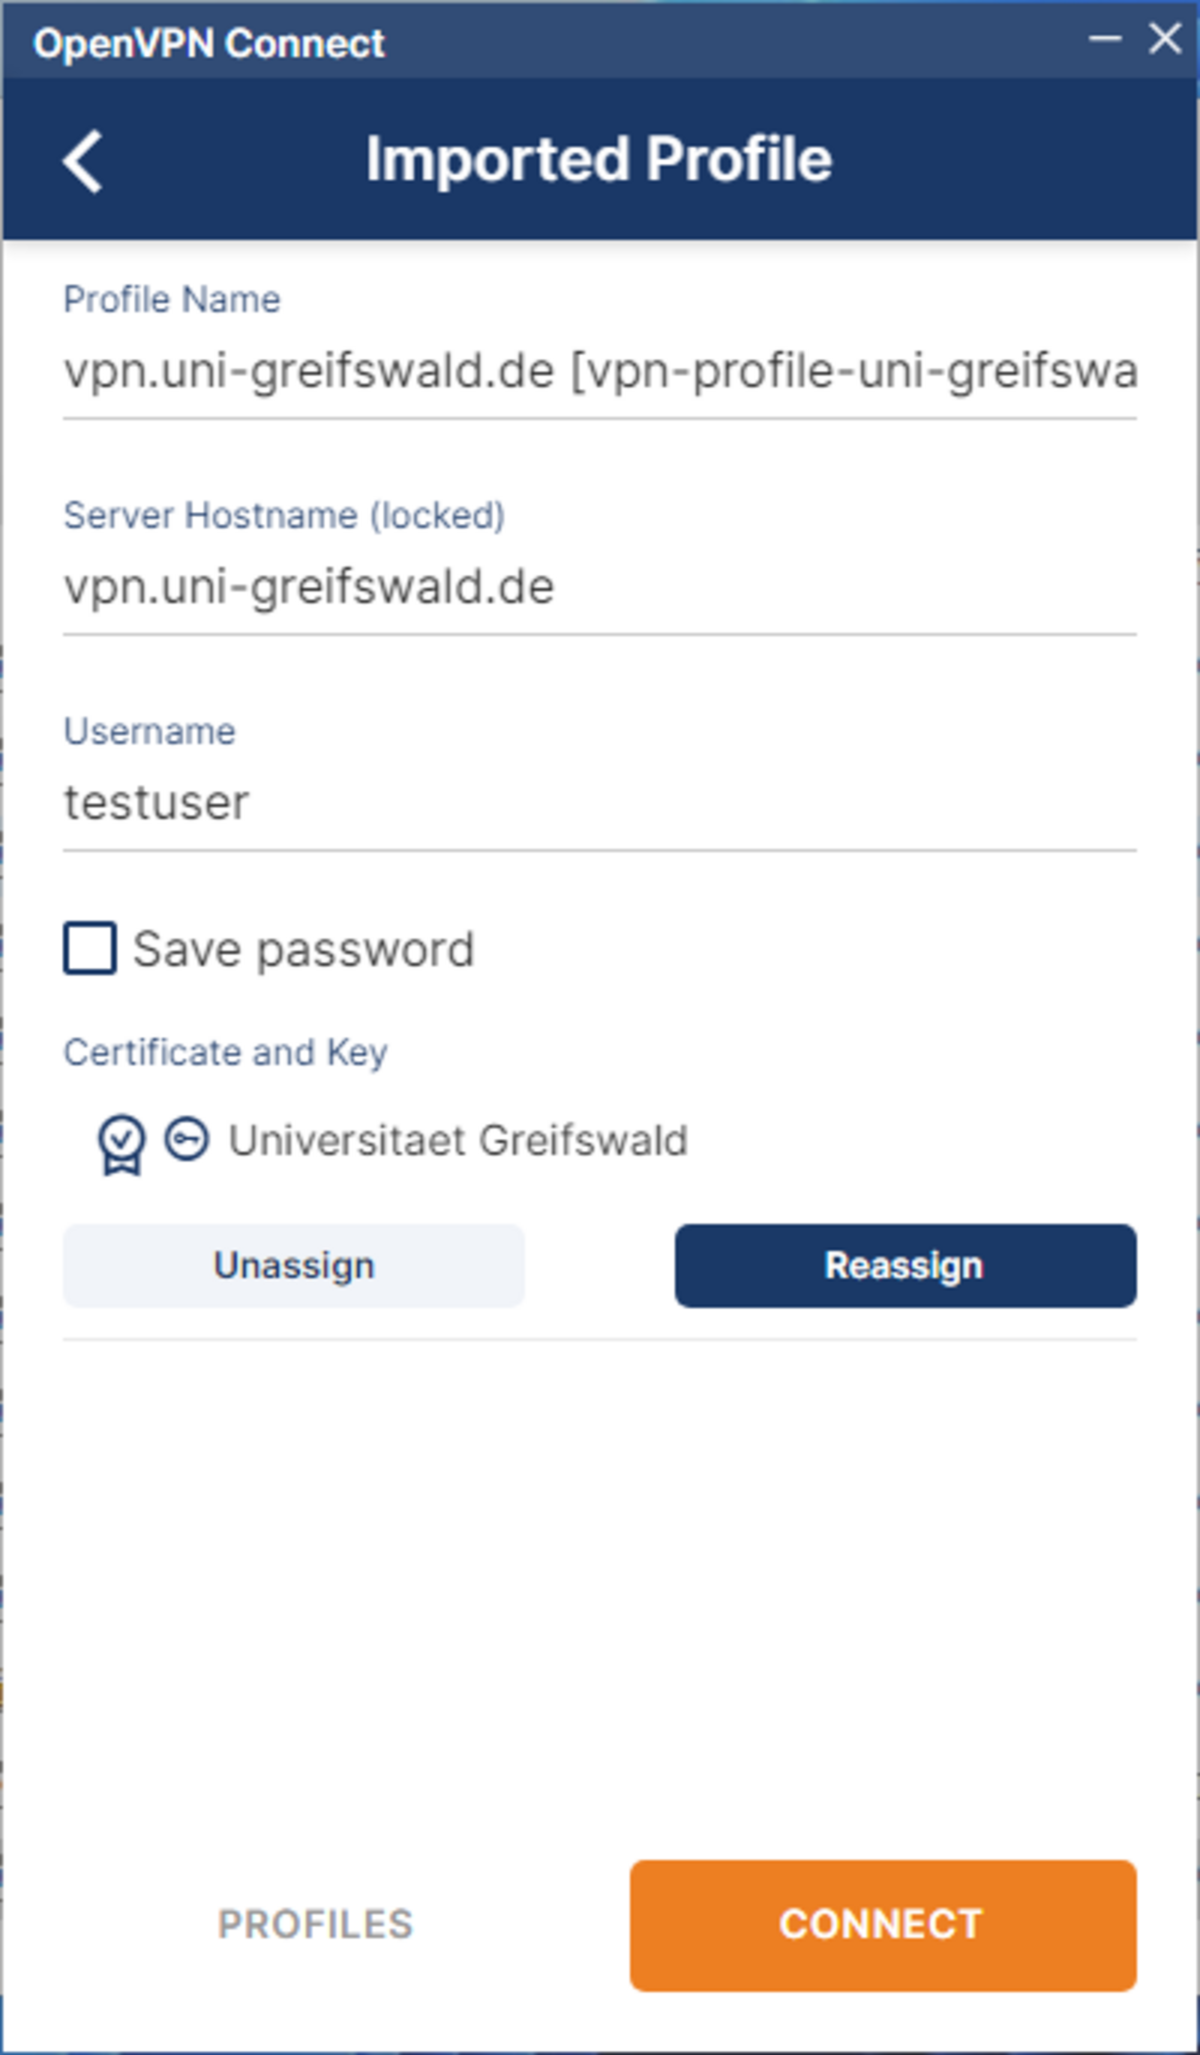
Now enter your username (URZ account).
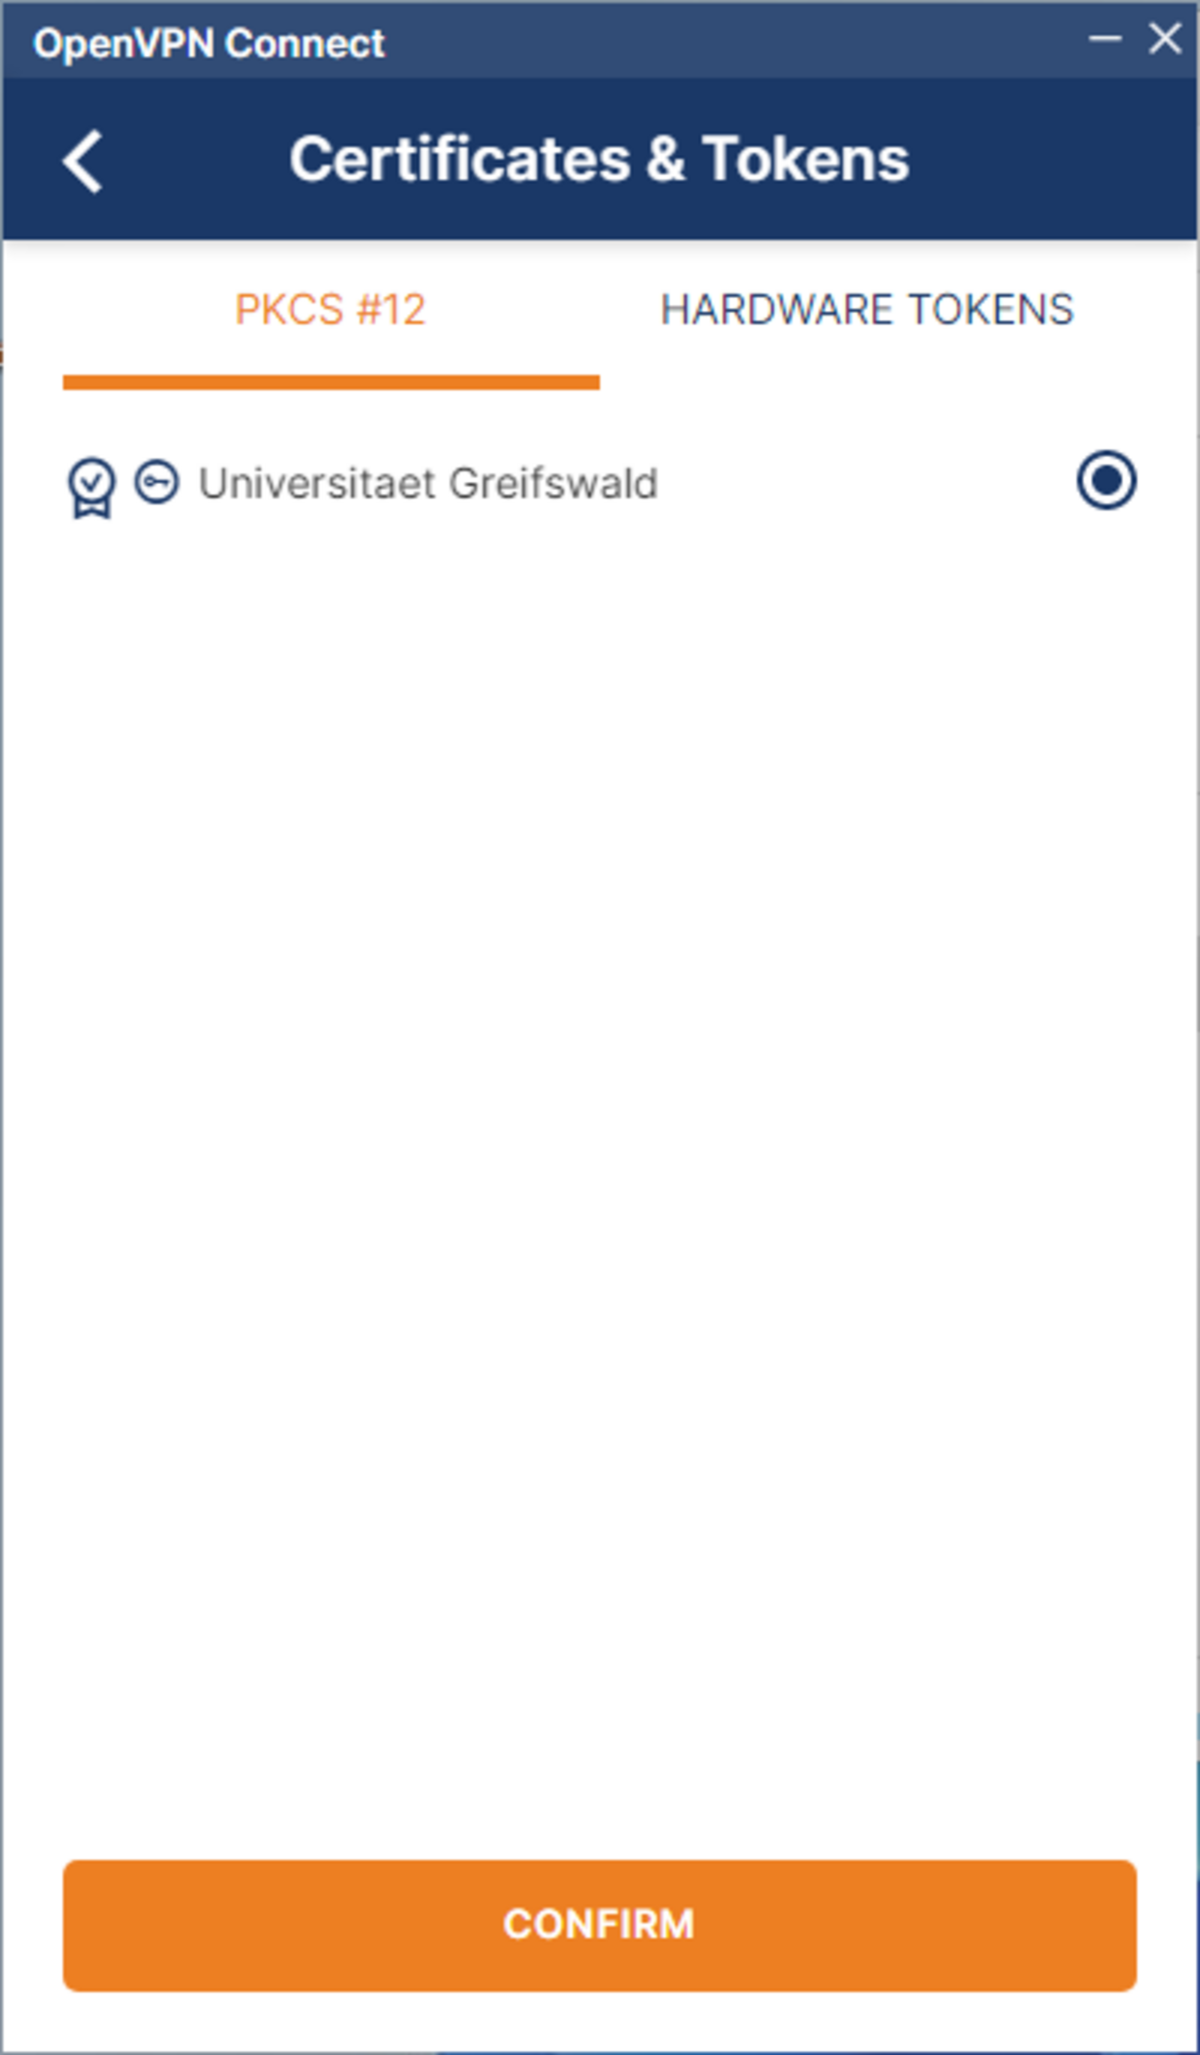
With Certificate and Key, click Assign, select the previously imported user certificate and click CONFIRM.
Now click on CONNECT and enter the password for your URZ account and confirm with OK.

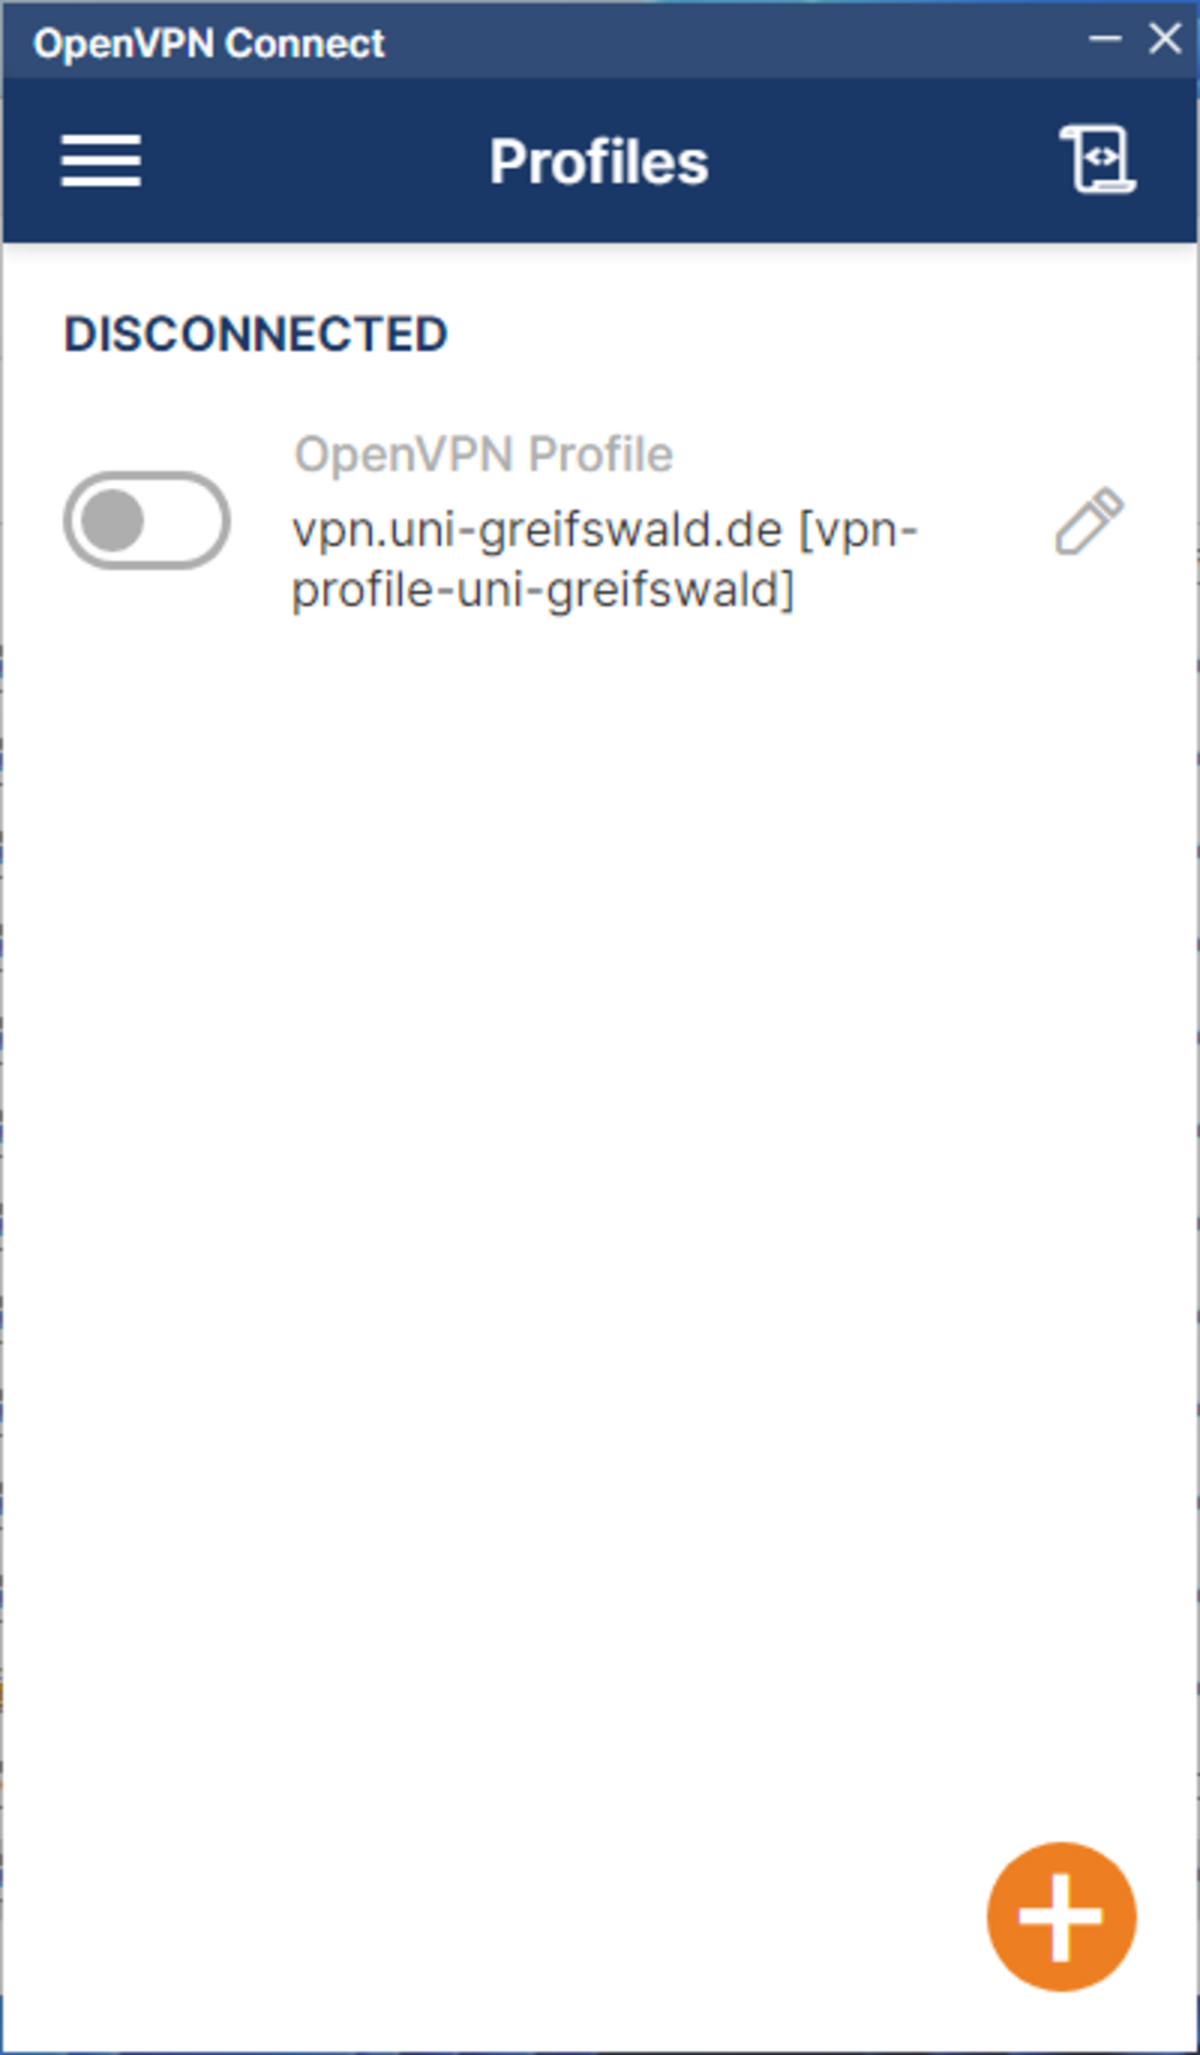
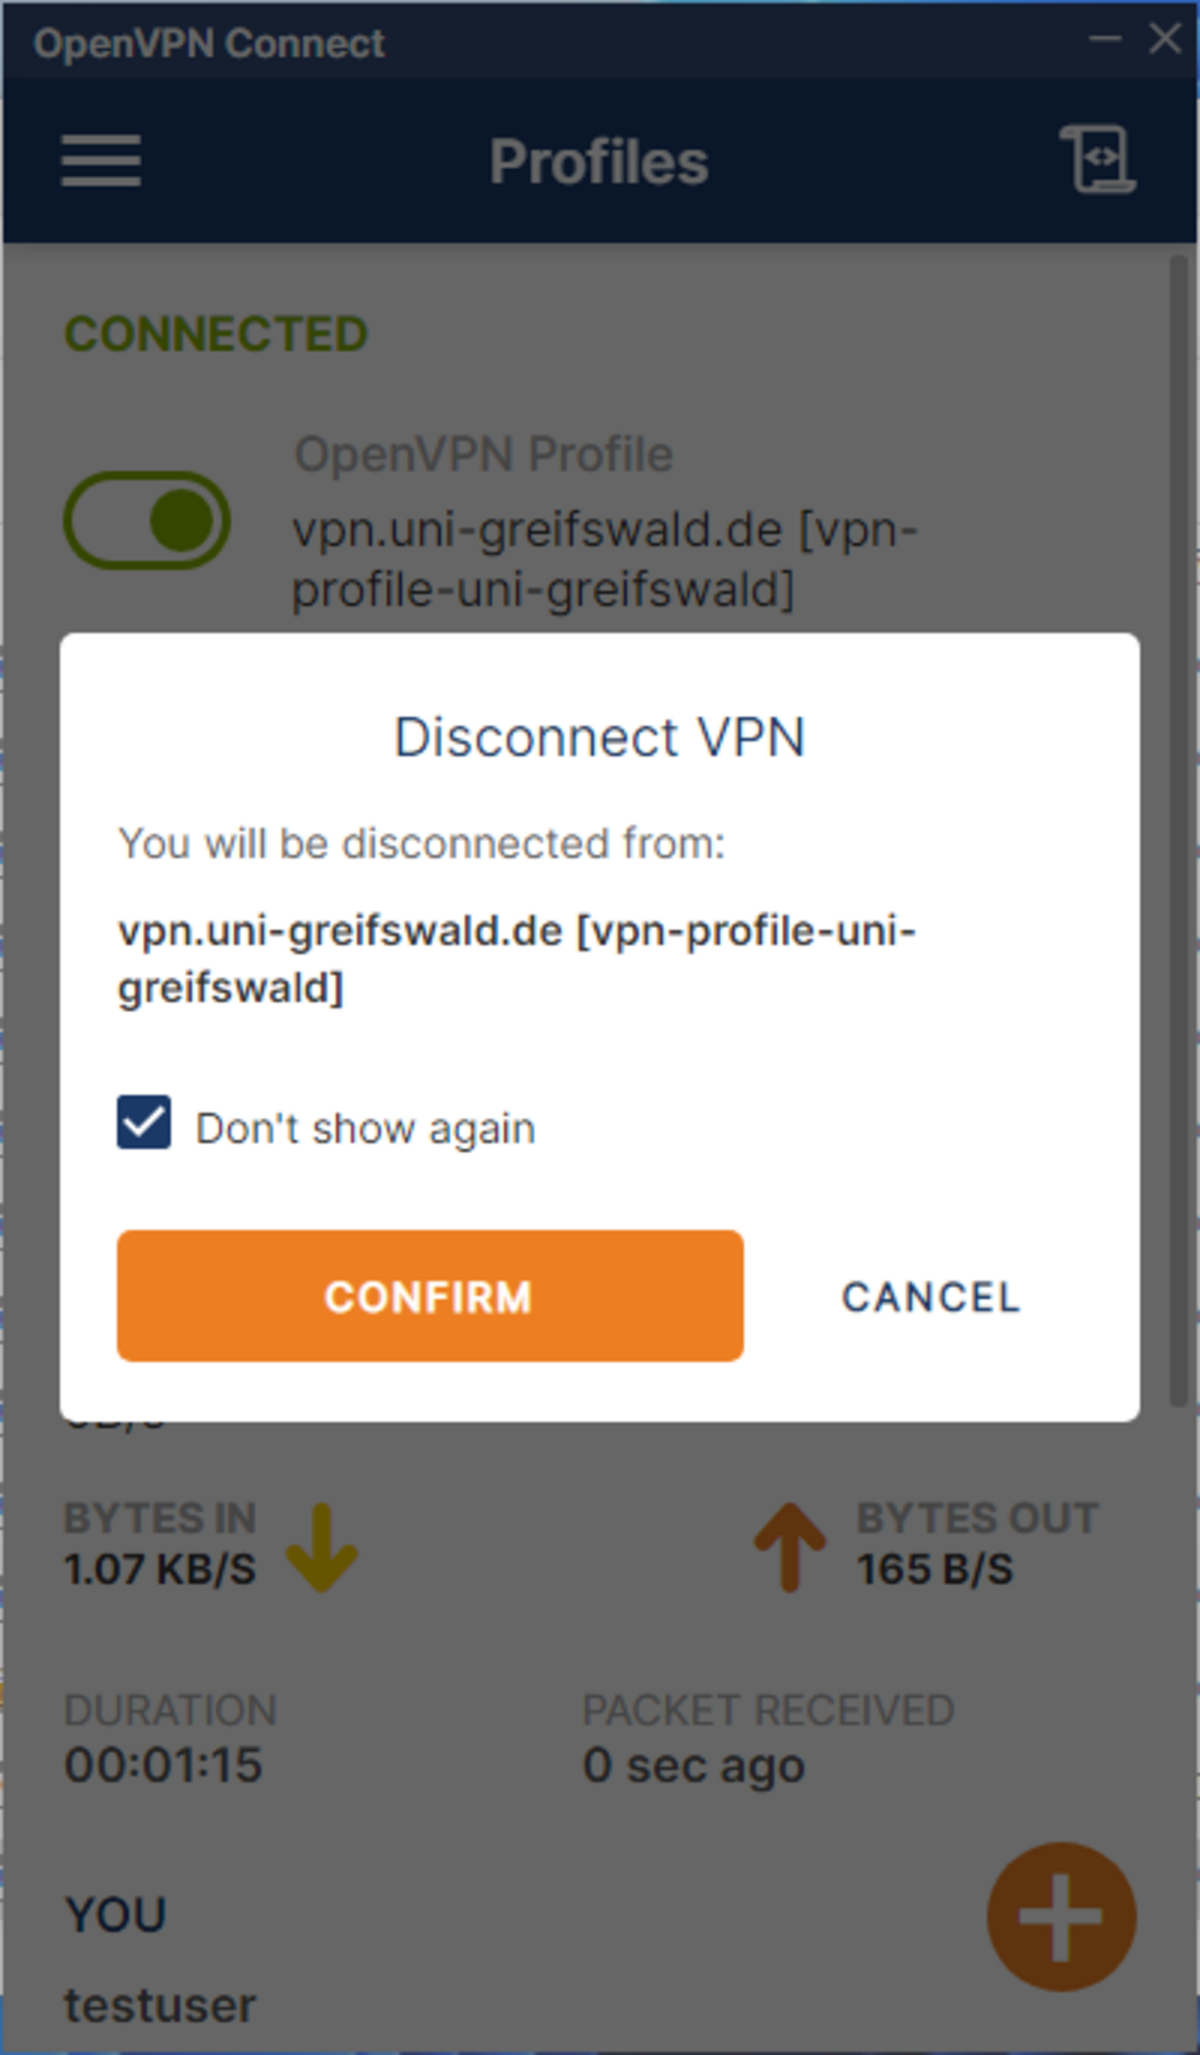
5. Establish and terminate VPN connection
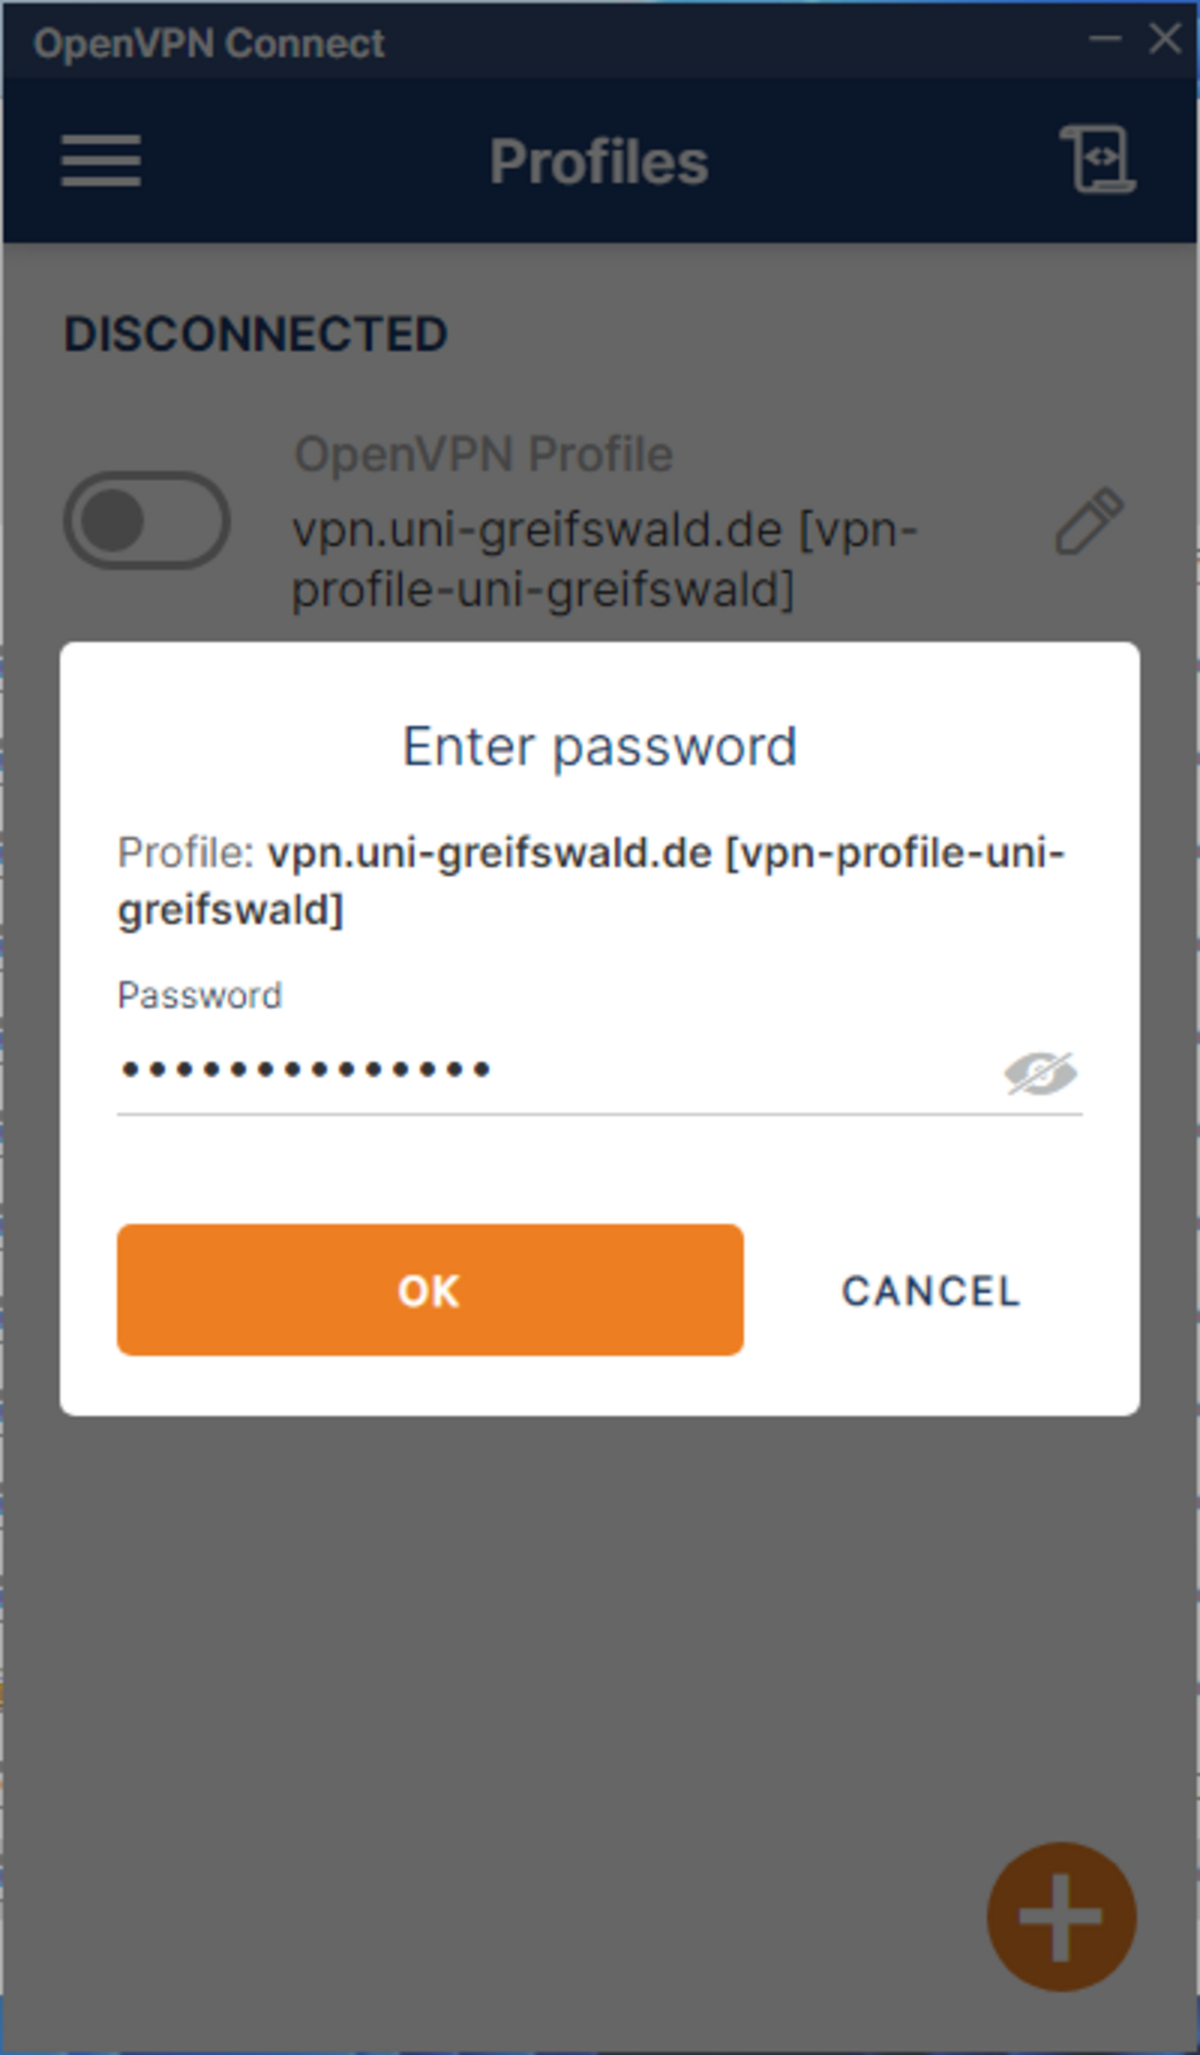
To establish the VPN connection, click on the grey button to the left of the current VPN profile and enter your password.
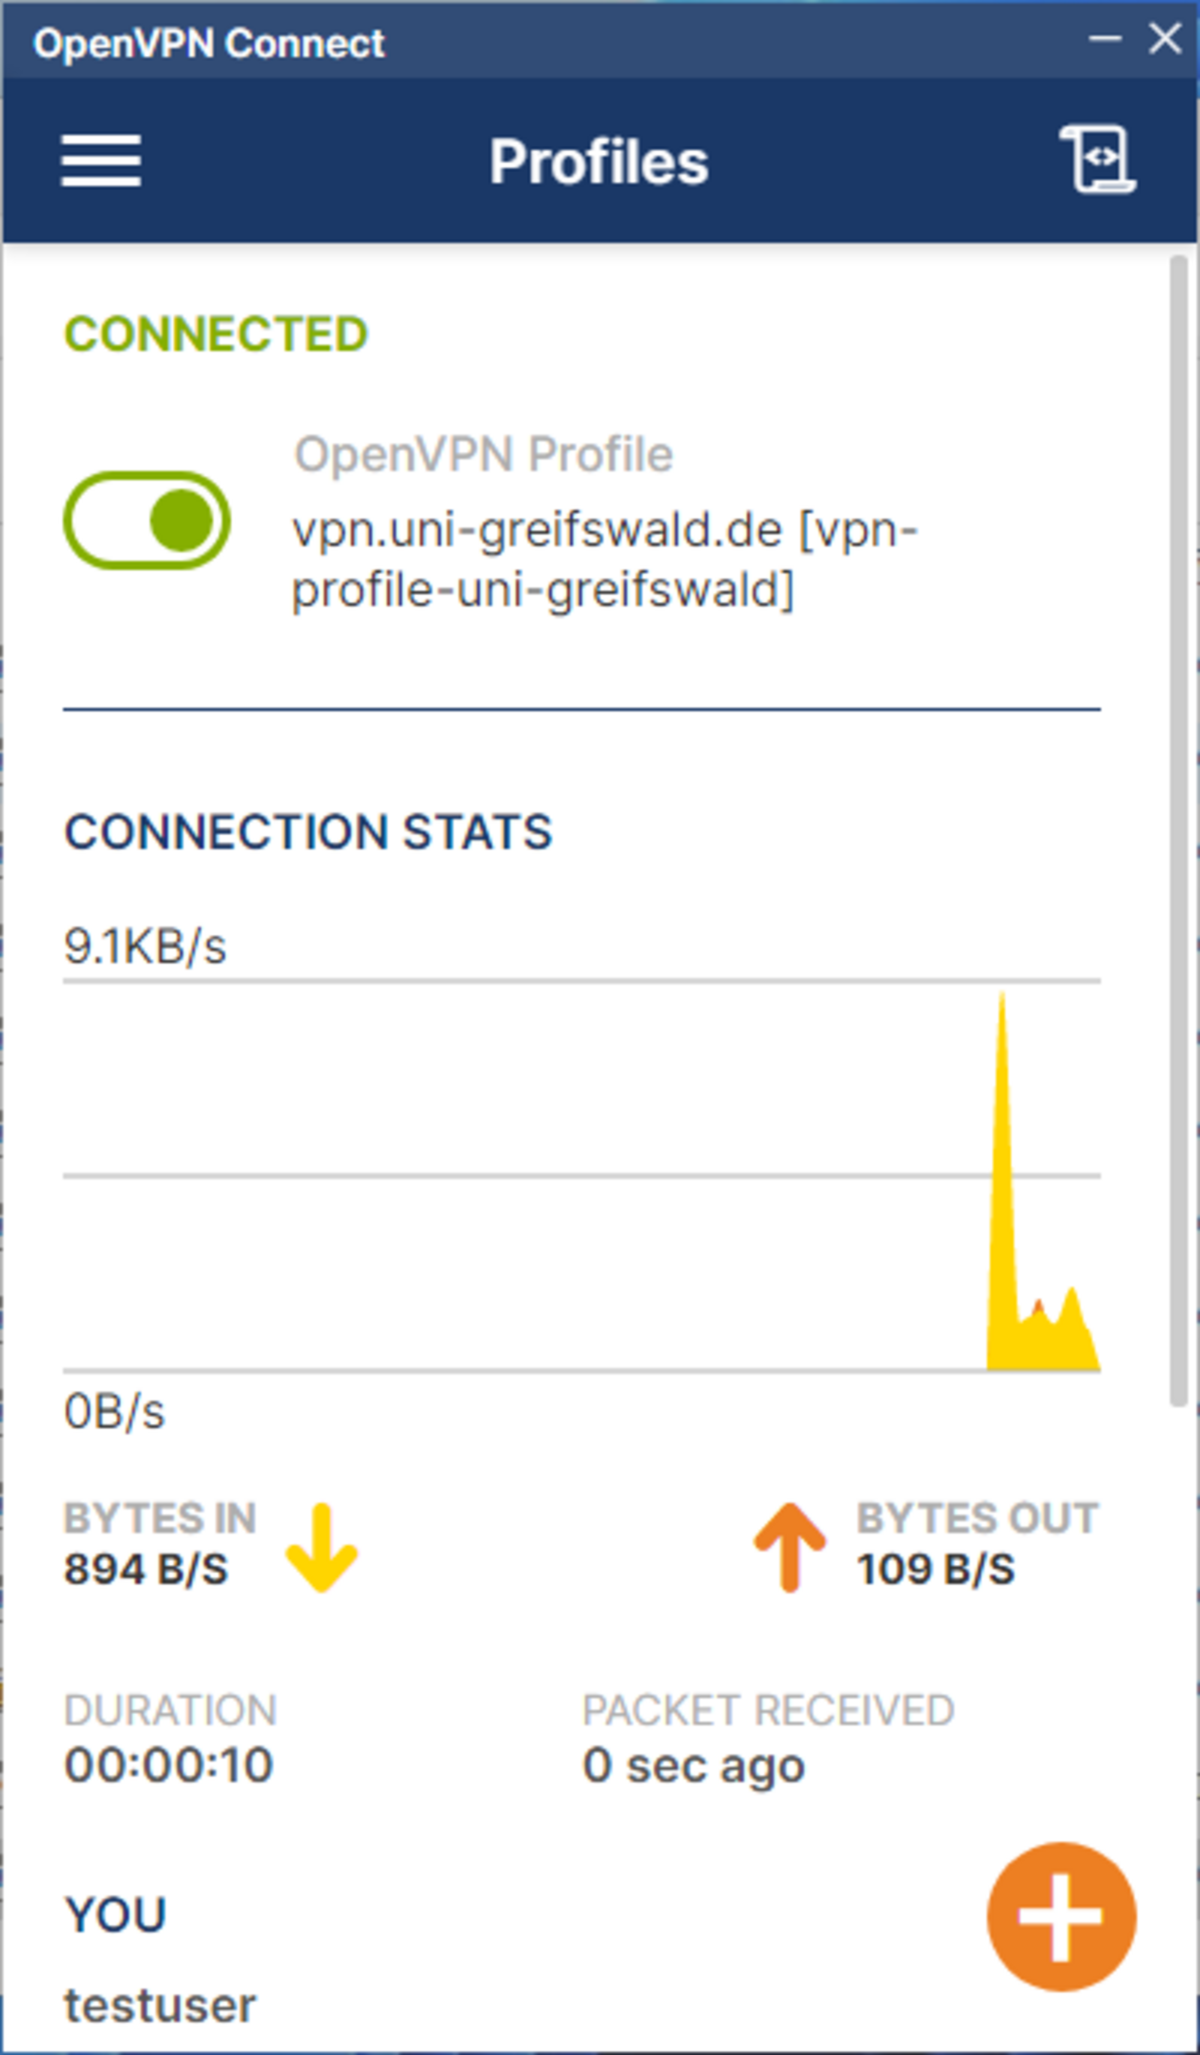
To terminate the VPN connection, click on the green button to the left of the VPN profile.